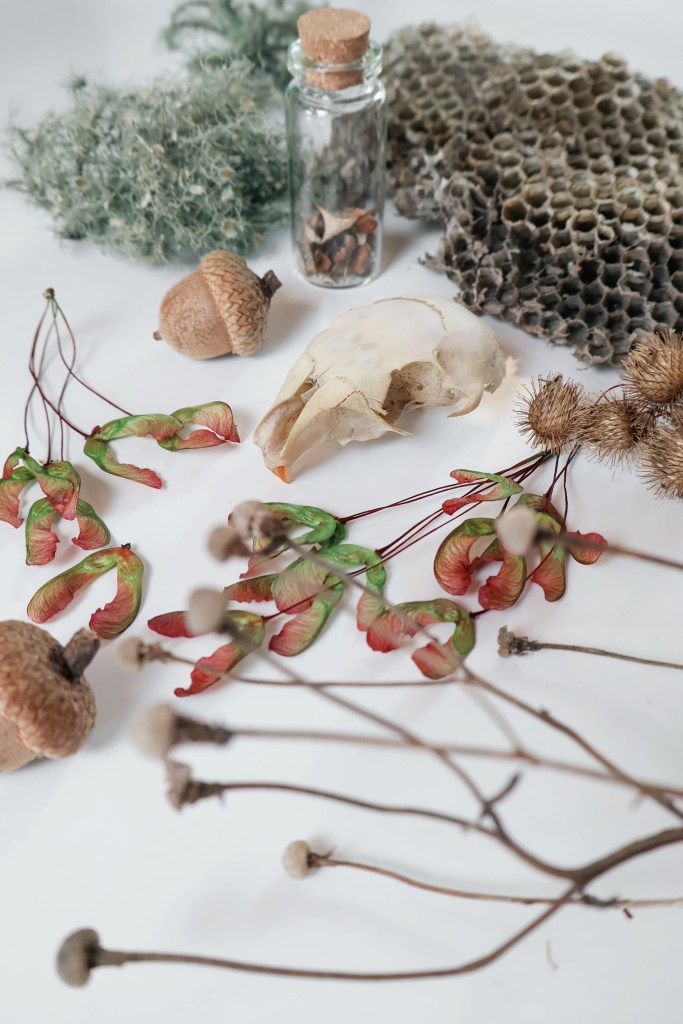
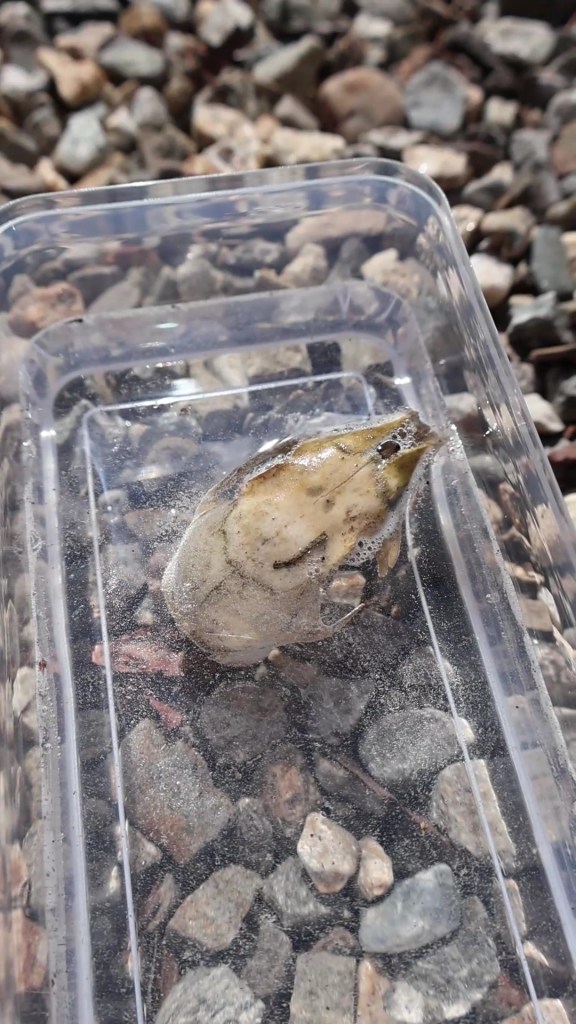
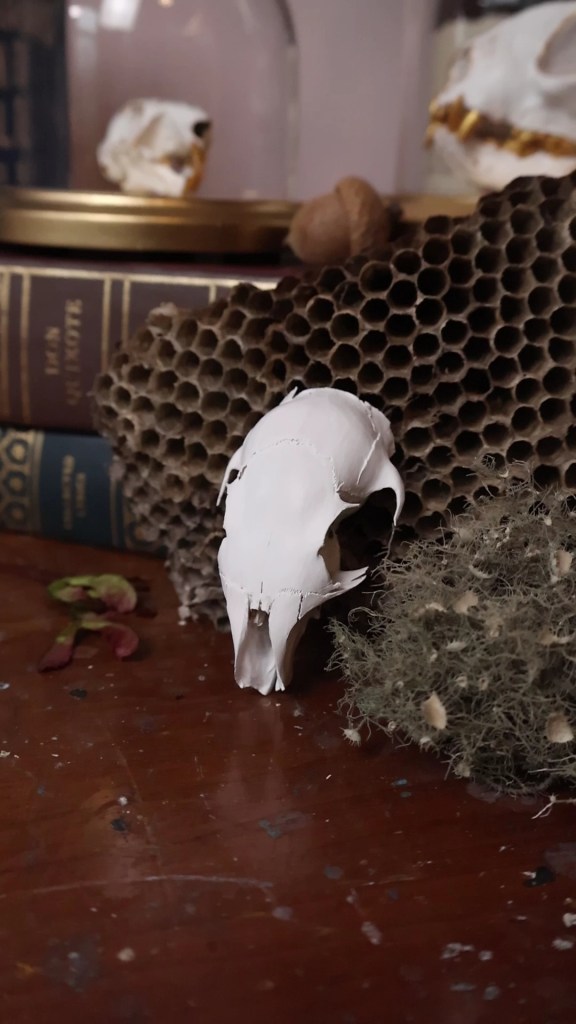
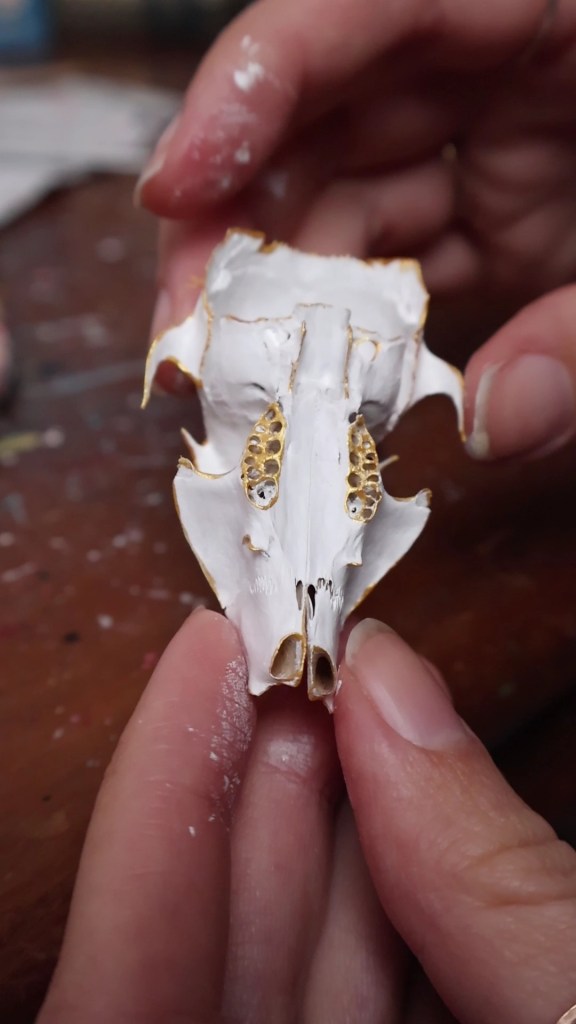
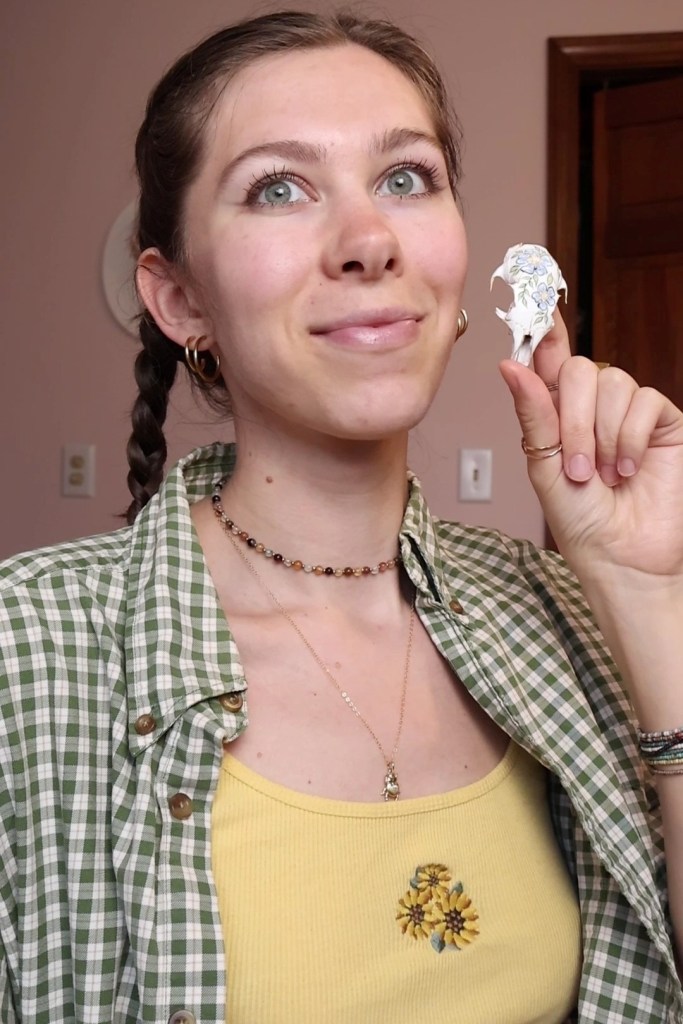
I’ve had this little gray squirrel (Sciurus carolinensis) skull laying around since last summer; it came from a squirrel who met an unfortunate end on the road in front of my friend’s house.
And now that it’s been almost a whole entire year since I got it, I figured it was finally time to paint it.
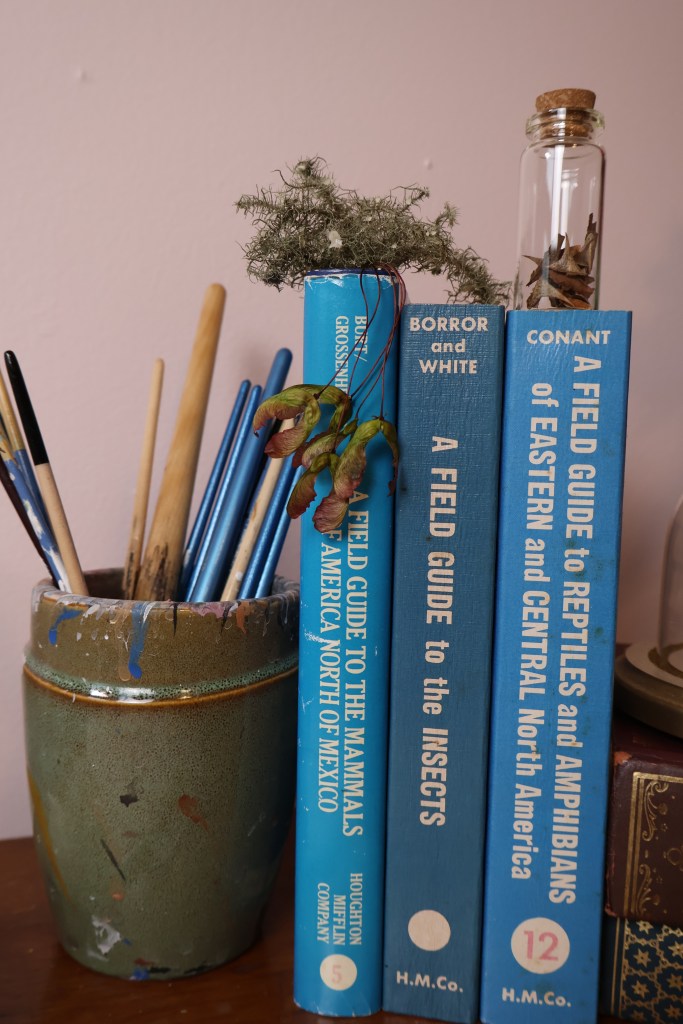
If you’ve never seen my painted skulls before, you can see the coyote, the deer, and the beaver skulls in these posts!
you can watch a YouTube short of this project here
step one: cleaning and preparing
I always start with cleaning and whitening my bones with a combination of hydrogen peroxide and sunshine.
And when I say “combination” I mean: you need to have the skull sitting out in the sun while being soaked in (or sprayed with) hydrogen peroxide.
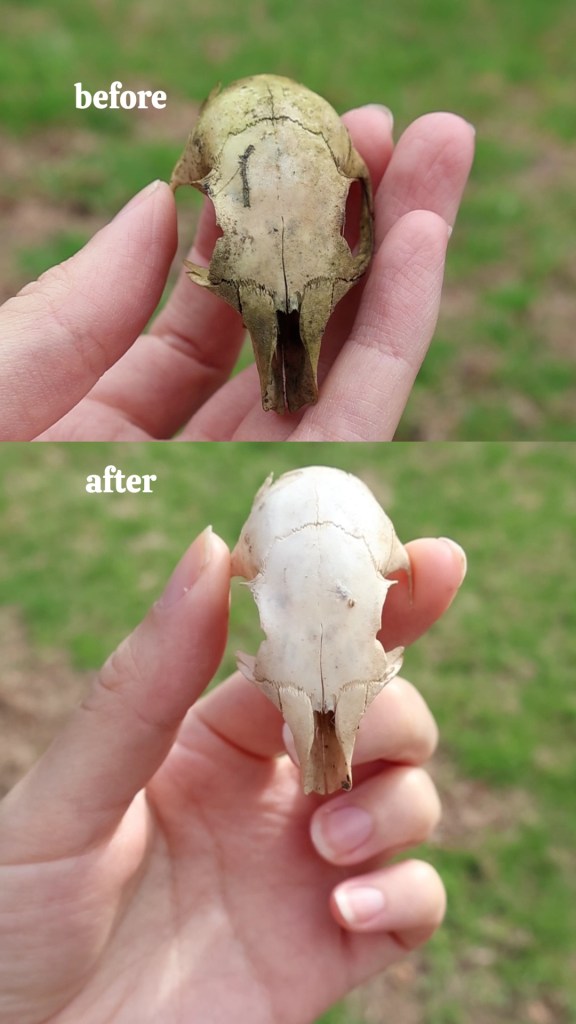
This combination starts to whiten it very quickly. If I was to keep the skull unpainted, I would likely let it soak and bake in the sun for longer to bleach it more thoroughly, but since I knew I was painting it, I just let is sunbathe for a day or two.
Even after that little time, you can see how much work the hydrogen and sun did! I gave it a quick scrub with soap, and then it was ready to be painted.
step two: painting the base coat
I’ve stuck with light colored base coats for my work so far (because it fits my personal aesthetic), but I’d love to experiment with a black and gold design in the future.
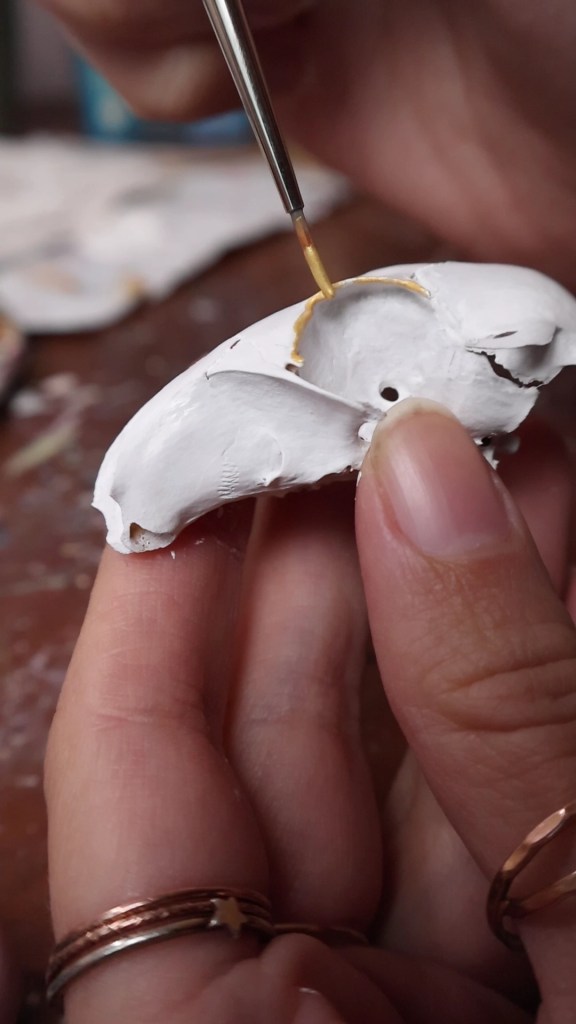
For this one, I went with a white base coat. It takes a bit of patience to get into all the tiny crevices, but the more thoroughly you paint, the cleaner the outcome will be!
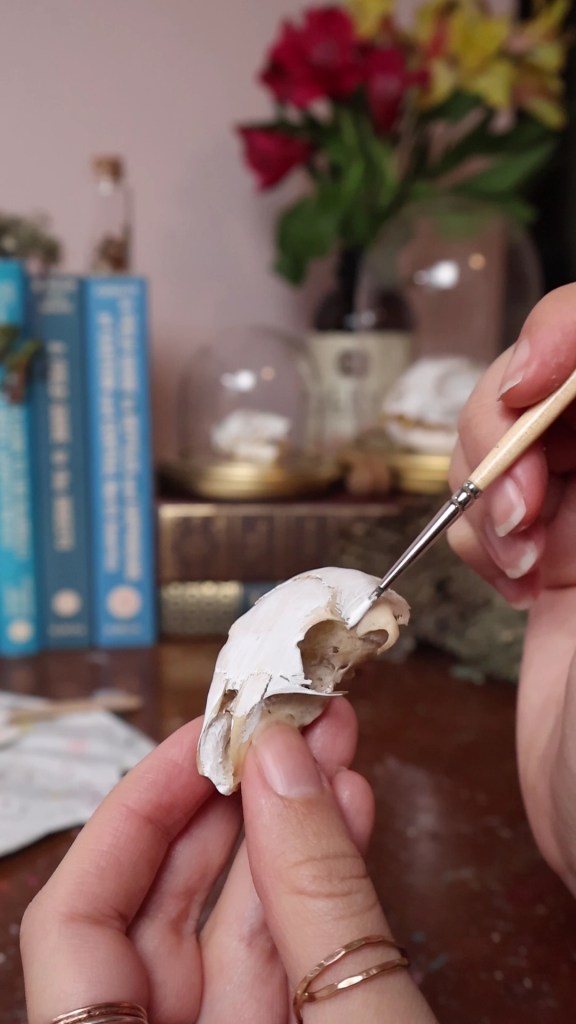
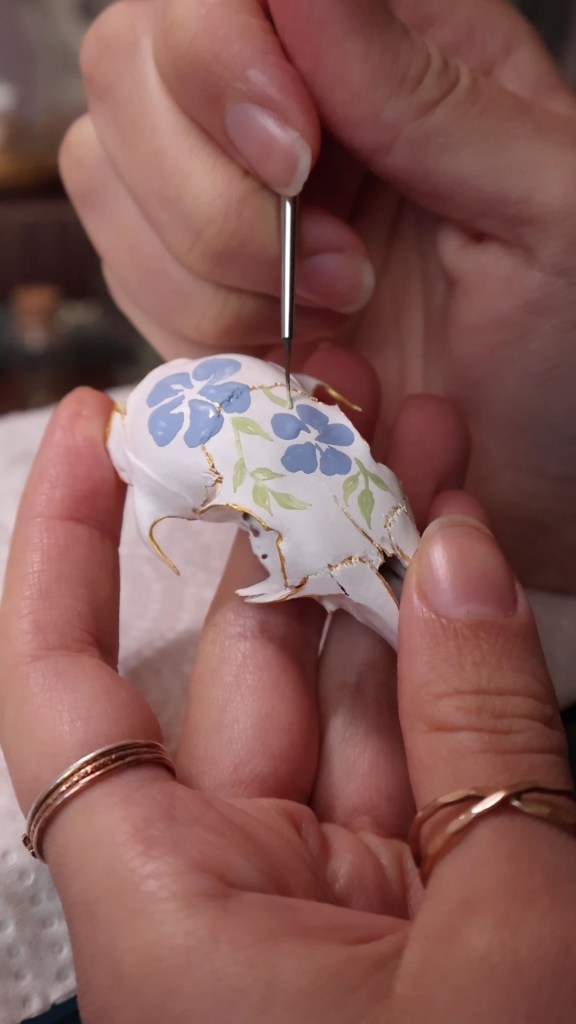
step three: painting the gold details
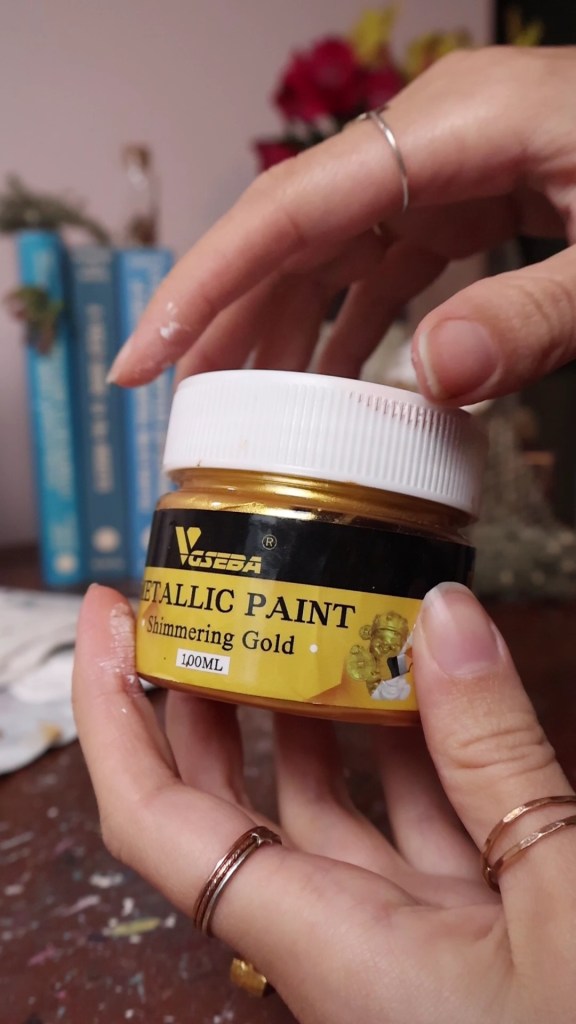
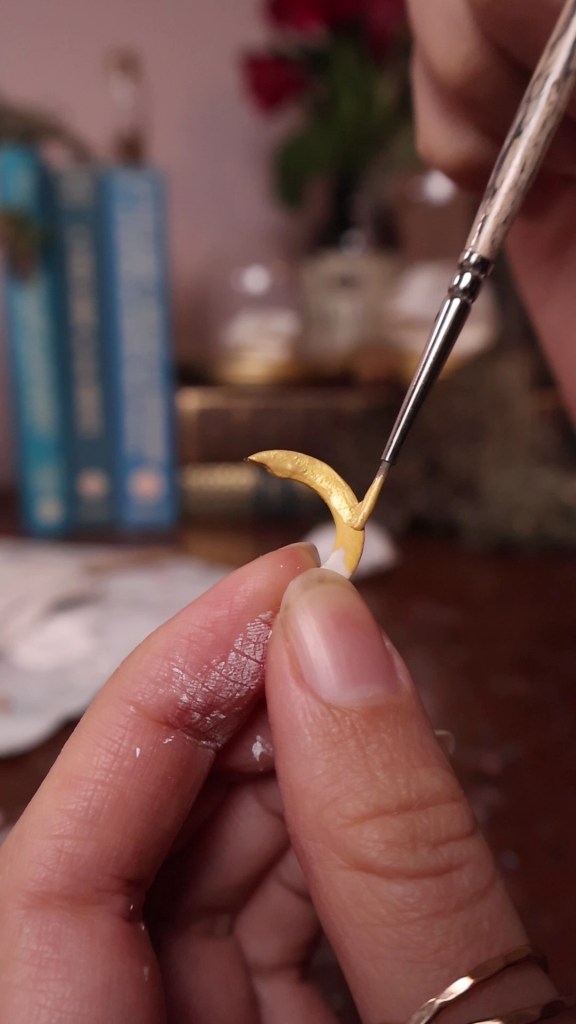
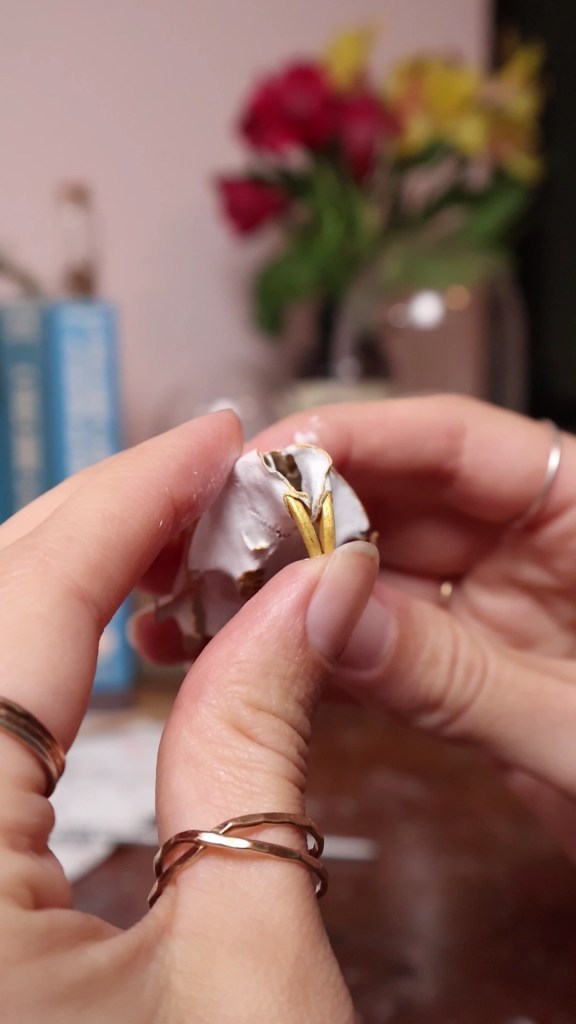
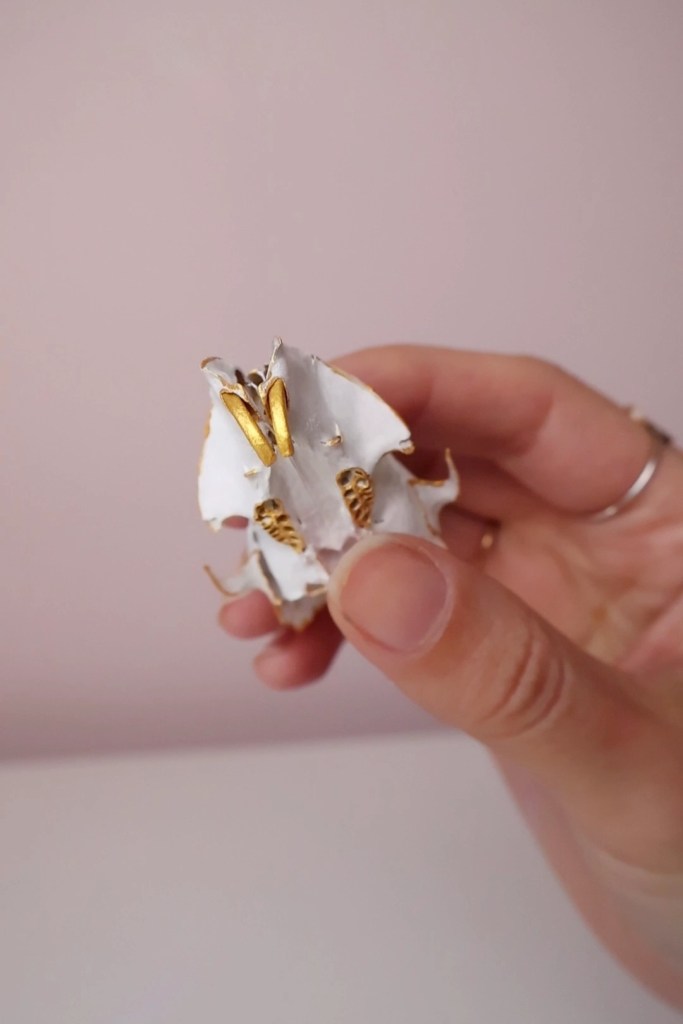
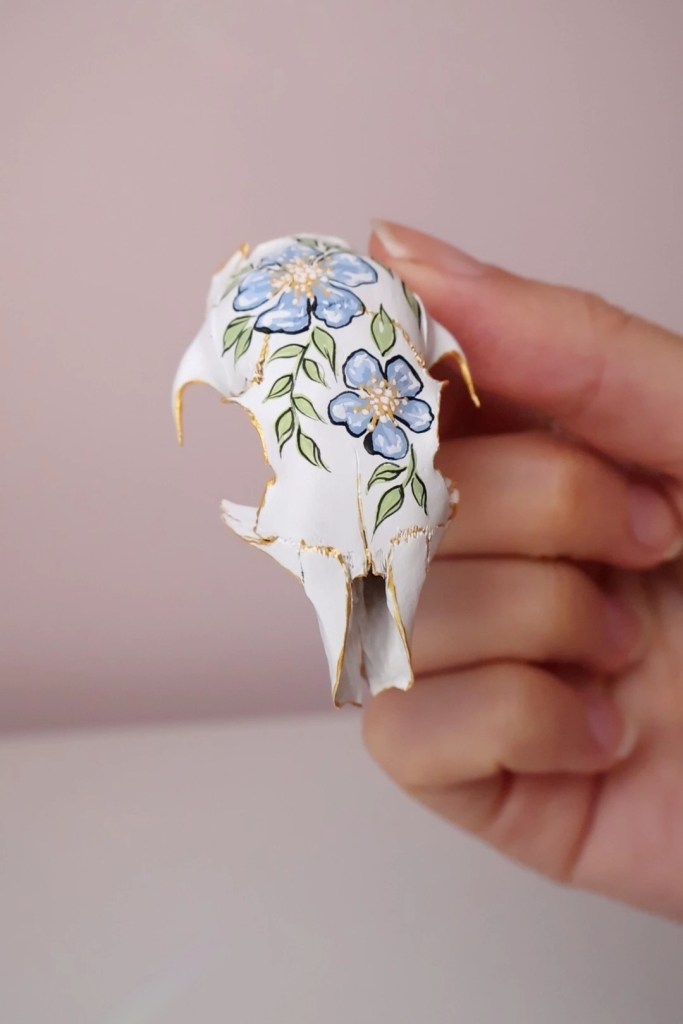
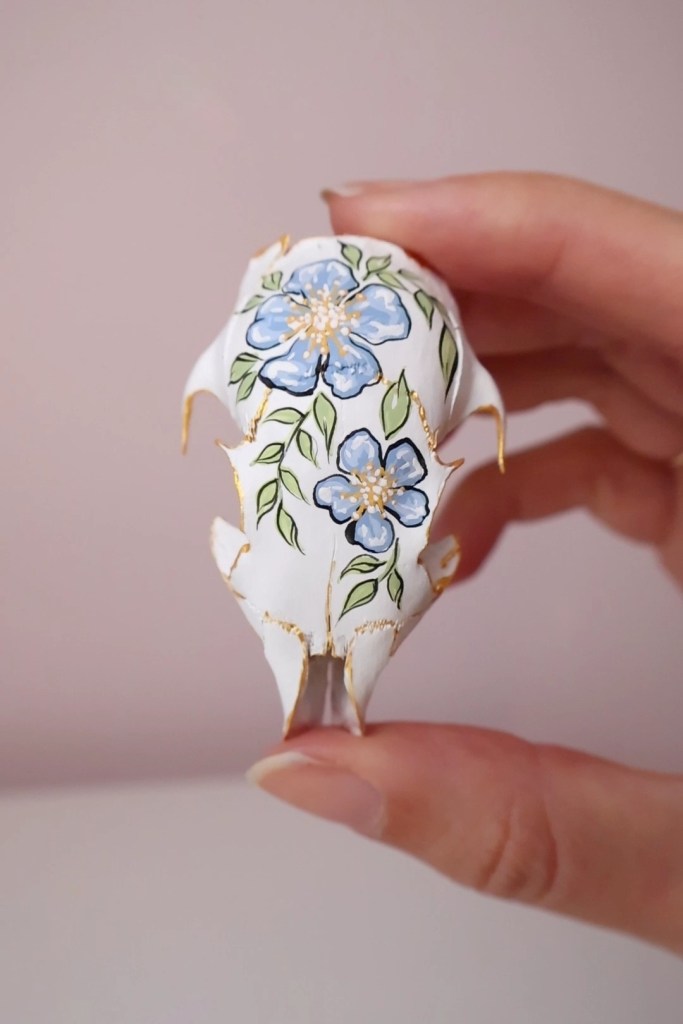
I removed the teeth for painting (they pull right out, and then you can truly appreciate how long rodents’ teeth are), and once the skull was painted, I moved on to adding my classic gold details.
The teeth got a gold coat, and then I went along and painted delicate gold details around all the natural lines and edges of the skull.

This might be my favorite part of my skulls, because this detail makes them look a lot more special when they’re finished.
When everything was dry, I glued the teeth back in with some tacky glue, and moved onto the florals.
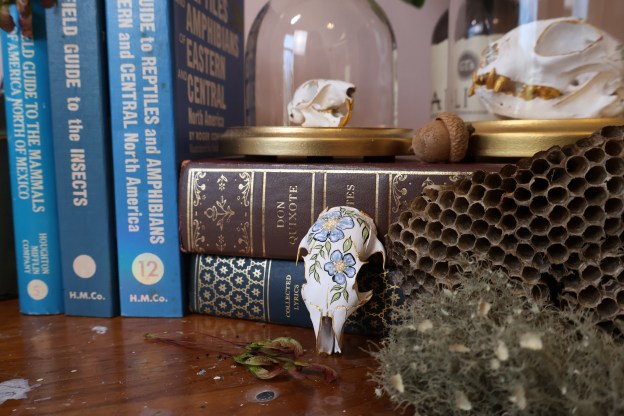
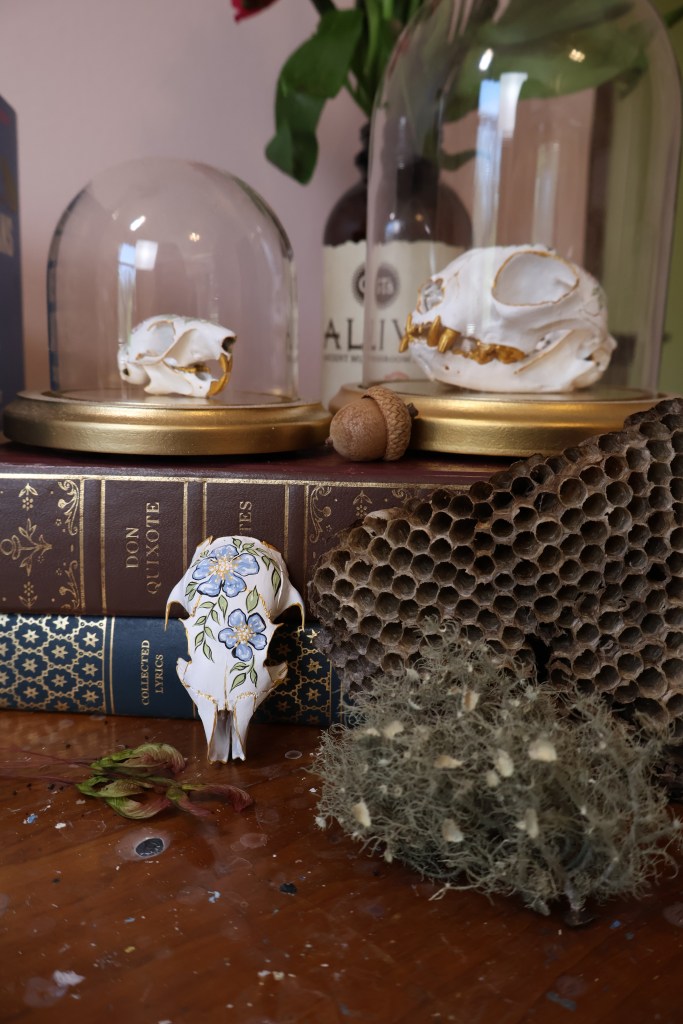
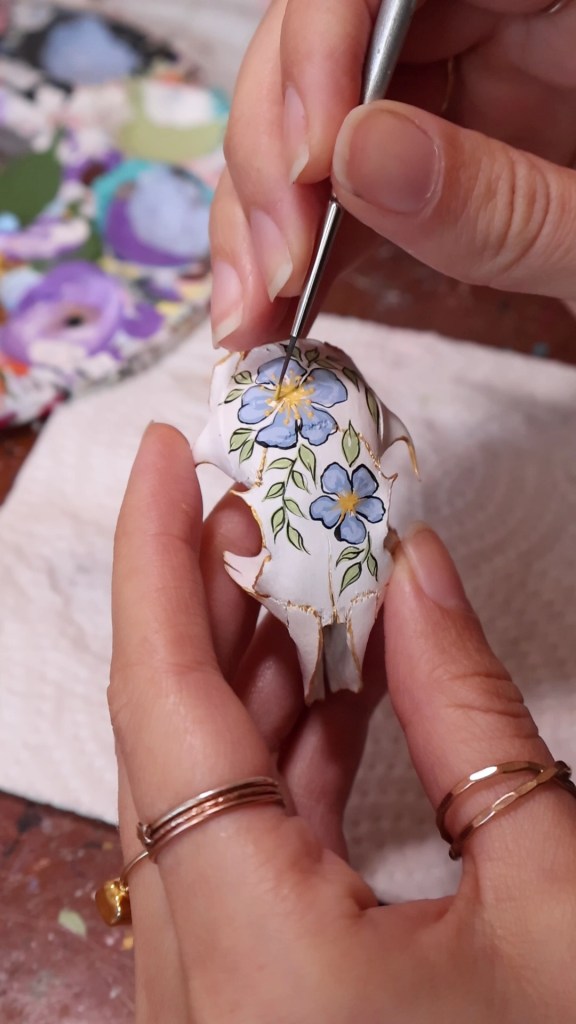
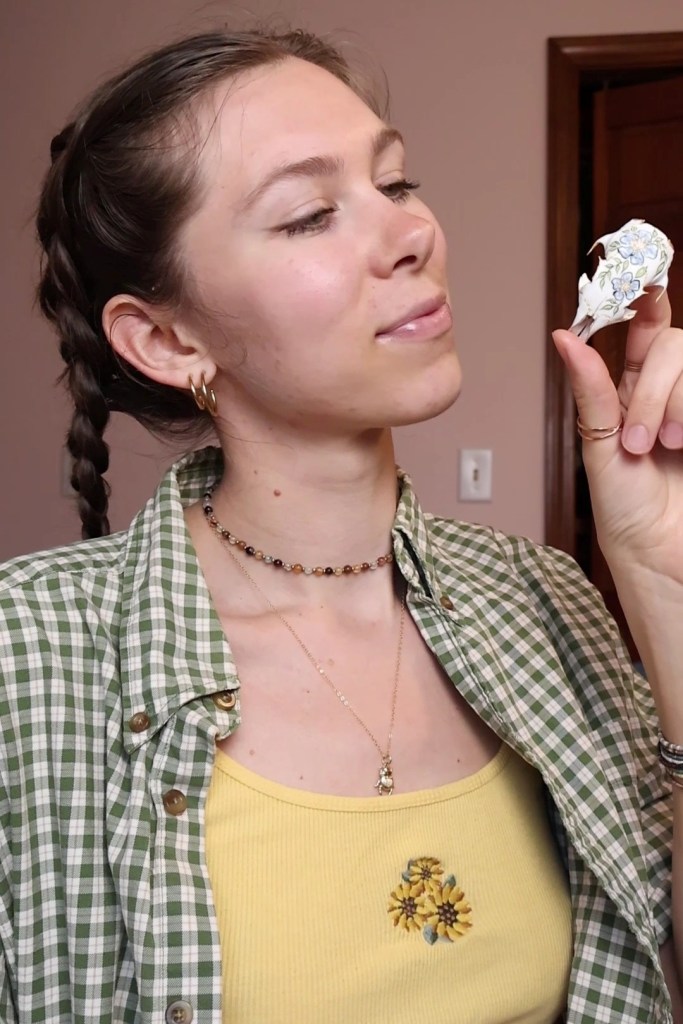
step four: painting the florals
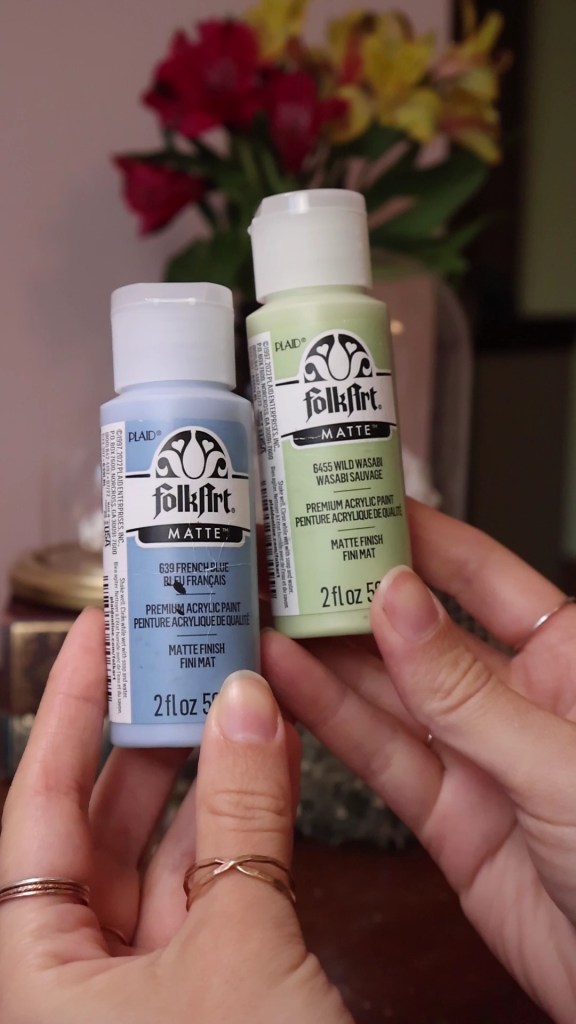
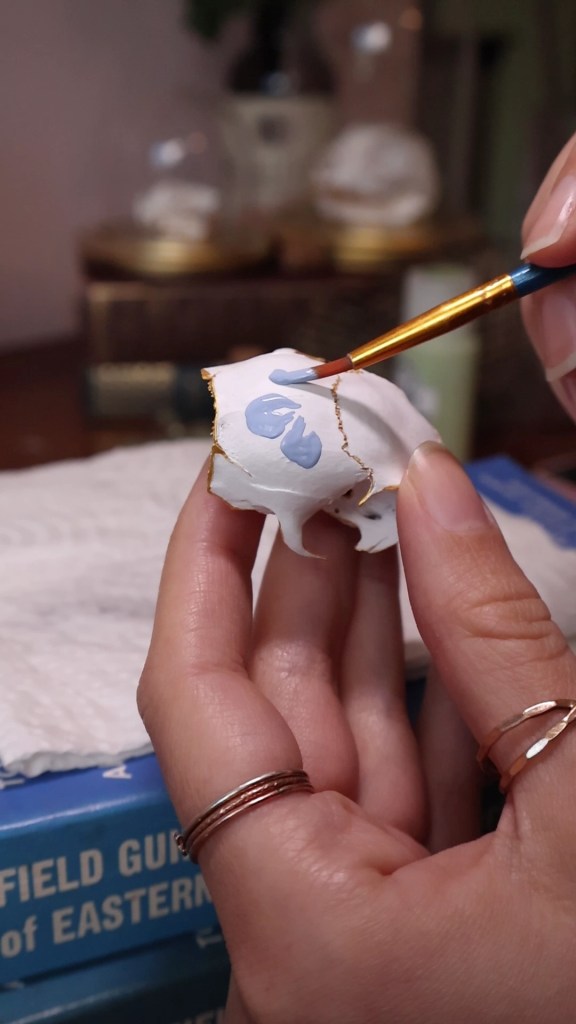
My color scheme for this one was blue and green.
For years and years I hated painting flowers; realistic flowers have always been quite hard for me to paint, so I tend to stay away from them. But a few years ago I finally discovered a flower design that I love, and now I use it on everything.
What makes them perfect, is that they’re imperfect.
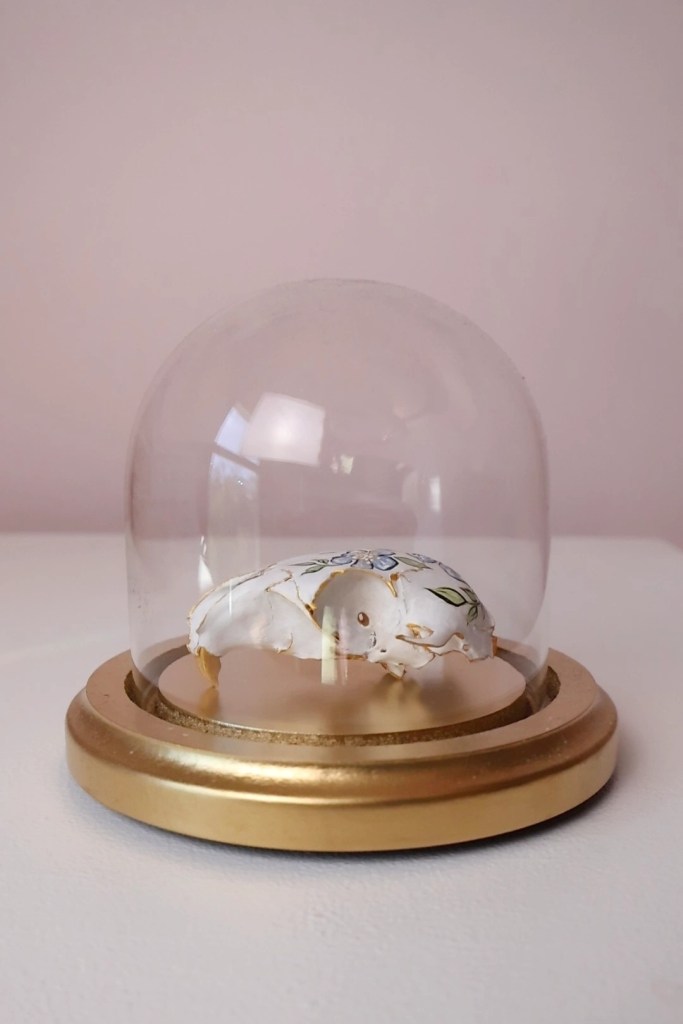
step five: choosing how to display it
I’ve mostly posted my larger skull work on my blog (I still have yet to post photos of my whole collection!), and those are the ones that I’ve hung on plaques on my wall.
But when it comes to my smaller collection, I typically choose to display them in little glass domes. This keeps them safe and clean, but it also looks hella cool 😌🤙🏼
I ended up gifting this squirrel skull to a friend though, so I left it up to him to decide how to display it ✨

(spoiler alert: next up will be an opossum skull, since I’m the person who everyone gifts roadkill to 💀)
