
I’ve discovered a new project, a way to use all of the scraps of denim that I’ve been saving! If you remember these cute denim bags that I made, you may remember that I made my own patches to sew onto their flaps. This made me think…couldn’t I create my own patches for (and of) anything with this same method??
The answer, of course, is yes.
And after seeing a few inspirational photos on Pinterest, I had a ✨vision✨
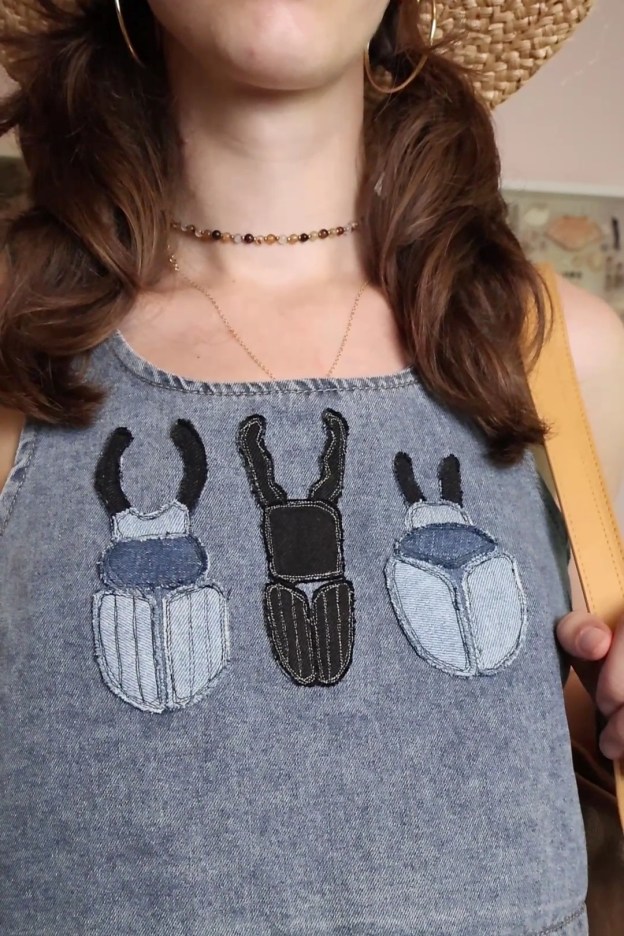
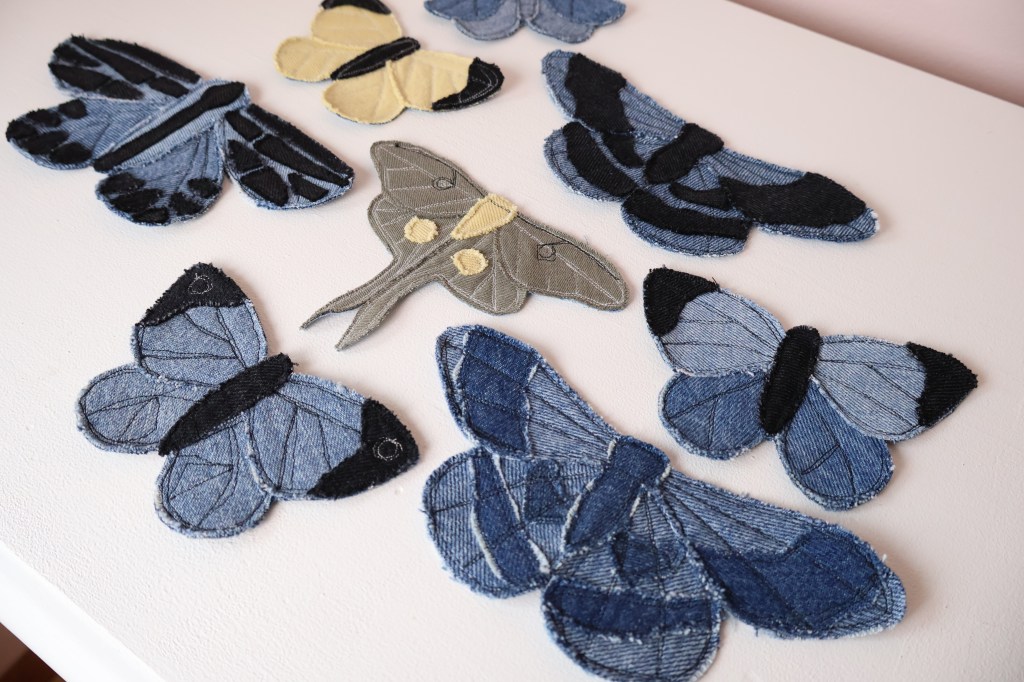
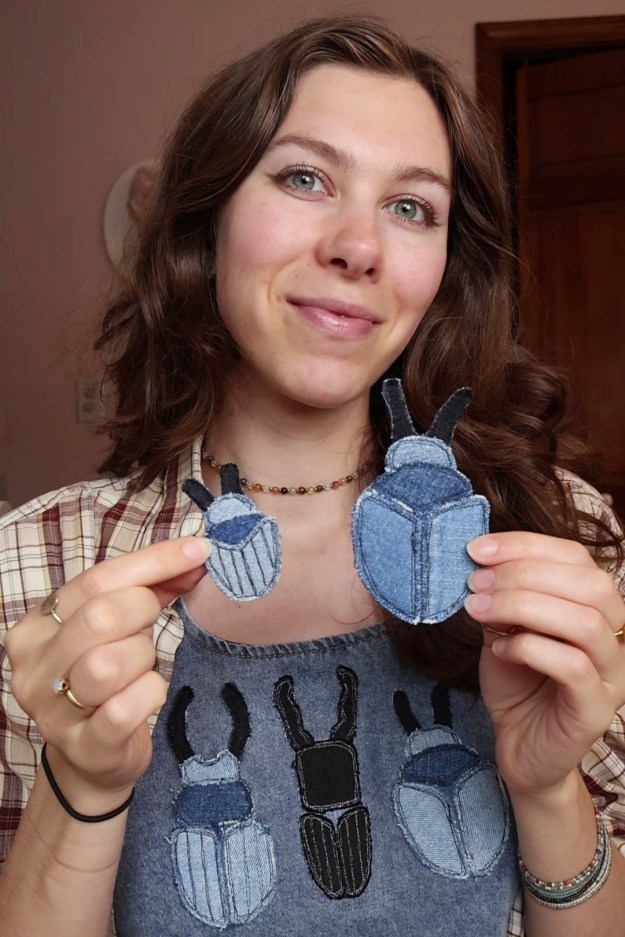
BUGS.
(because I’m clearly still firmly in my bug era)
I thought it was kind of a nice synchronicity that I made these right around the time that Noah Kahn came out with his new album The Great Divide: The Last Of The Bugs. I really think some Noah fans should find and appreciate my work
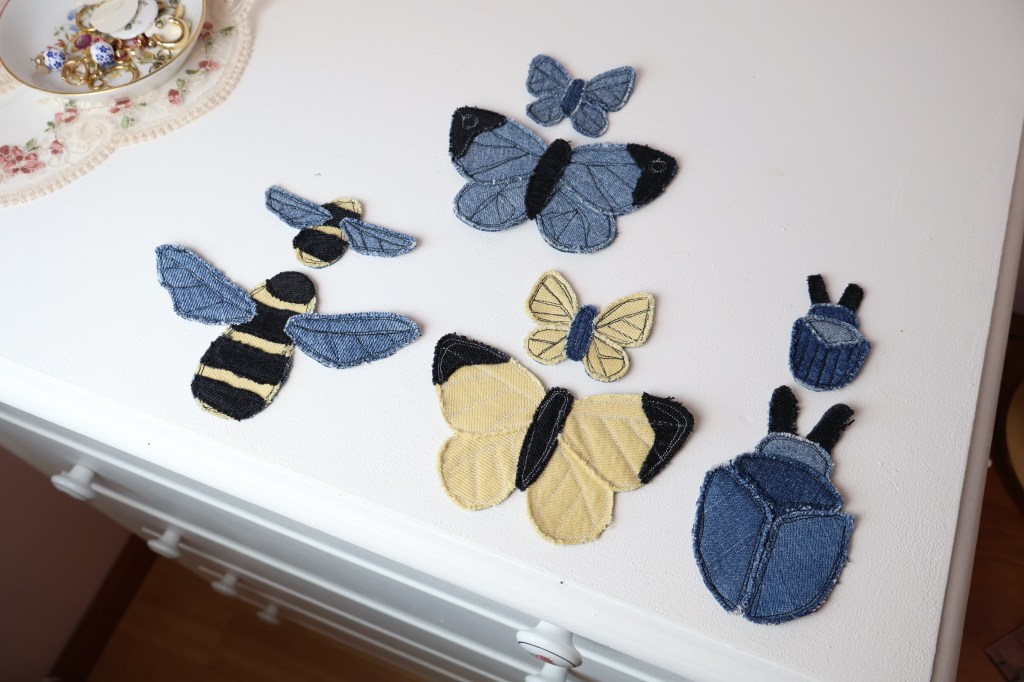
These came out exactly how I imagined, but better.
If you don’t know how to sew, you can now buy these in my Etsy shop!
If you do know how to sew, and you’re interested in making some of your own, here’s how I did it.
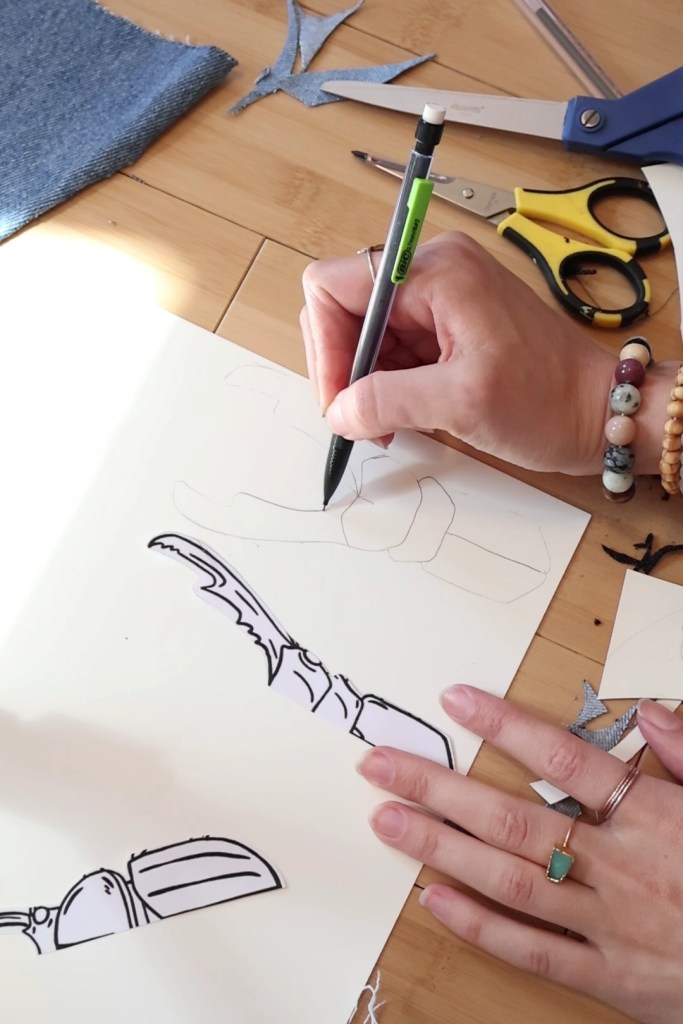
step 1. making your templates
I started by printing out some bug inspiration, so that I could easily figure out what designs I wanted to make, and how big I wanted them to be.
Then I made my own templates so that I could reuse them forever.
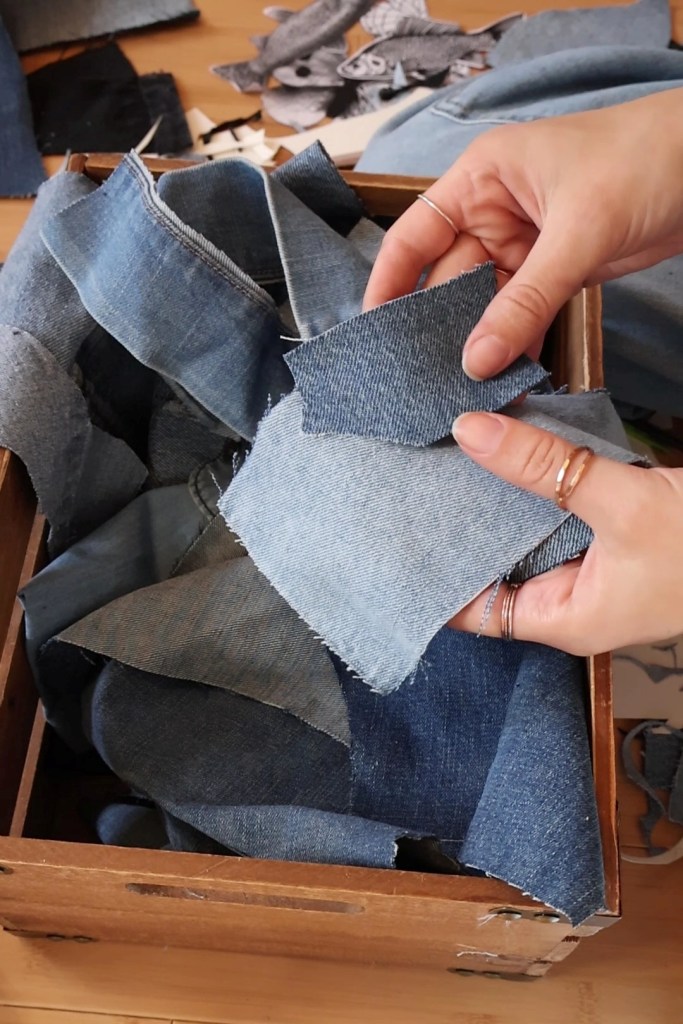
I’m now making sure to save every tiny scrap of denim for future patch projects!
step 2. cutting out all your pieces
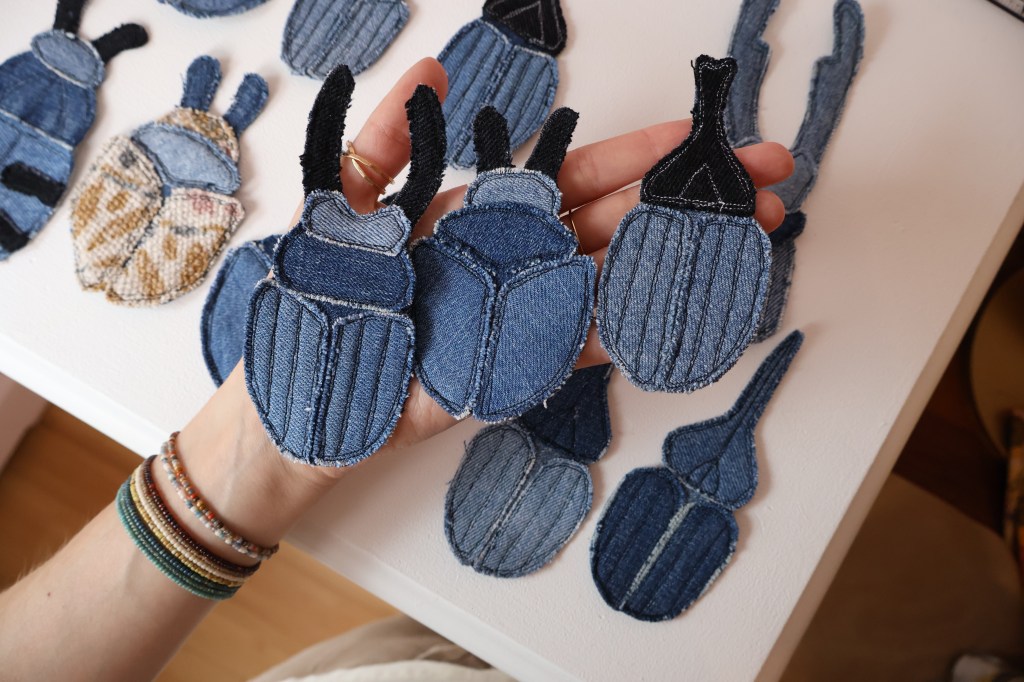
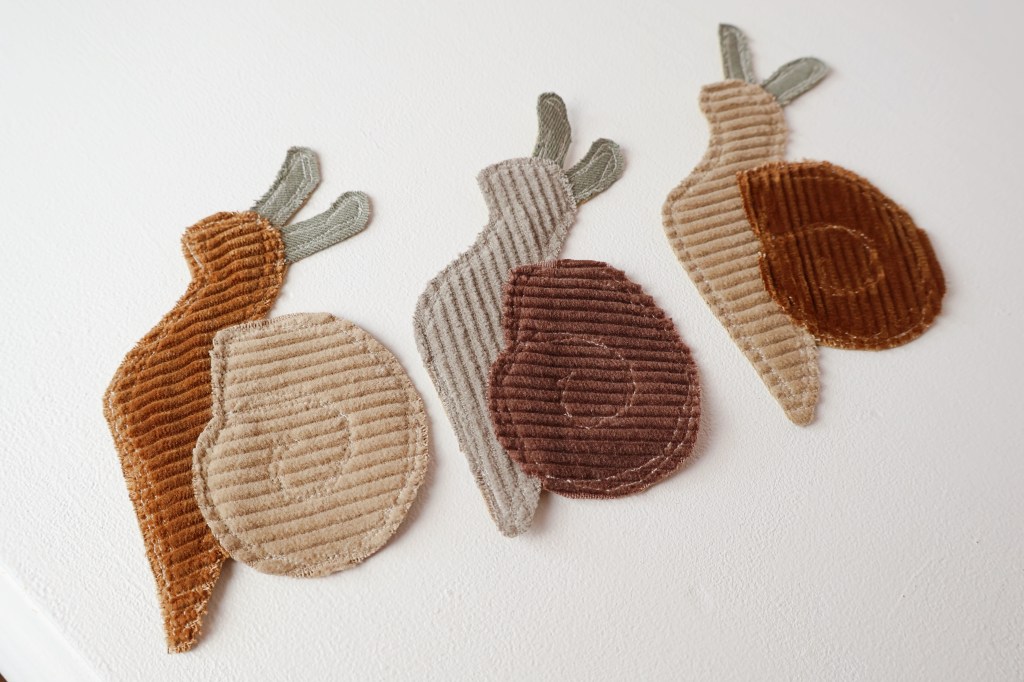
After I got my templates sorted, I starting picking out my color schemes and cutting out all my tiny pieces of denim.
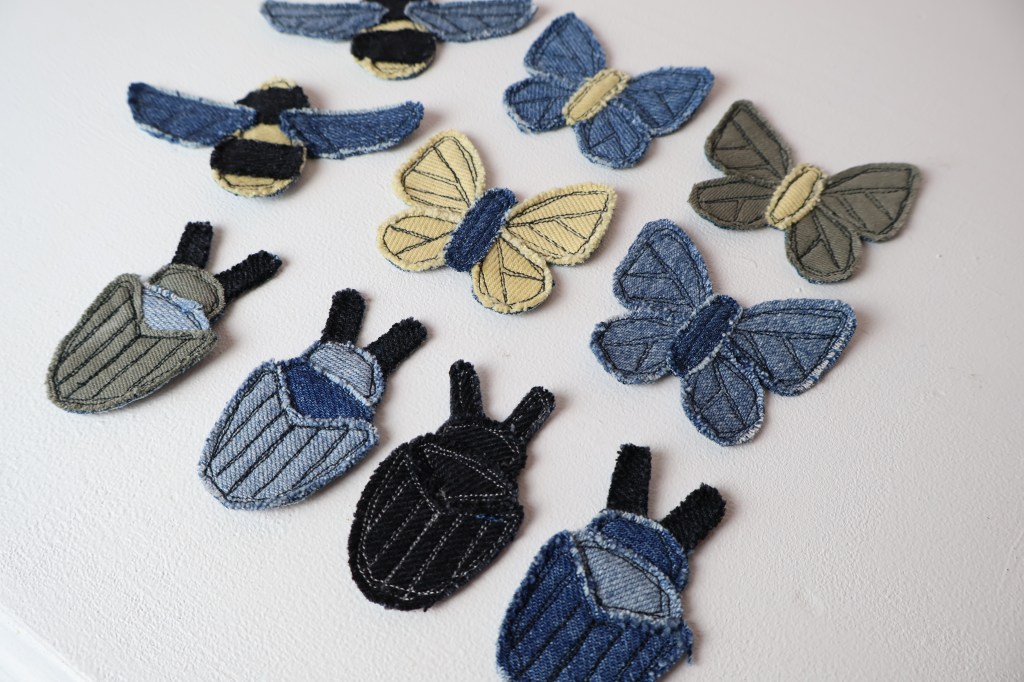
I made sure to alternate dark and light denims so that there was some visual contrast with all the individual pieces, this way the bugs are more interesting, and have dimension.
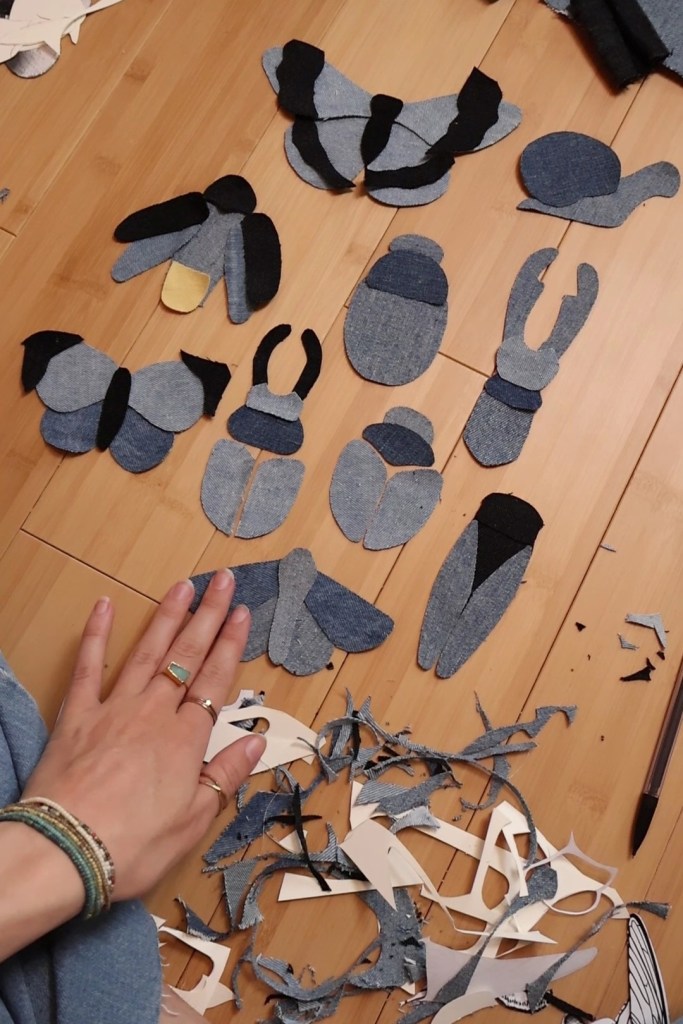
I got temporarily possessed and ended up making over 40 patches
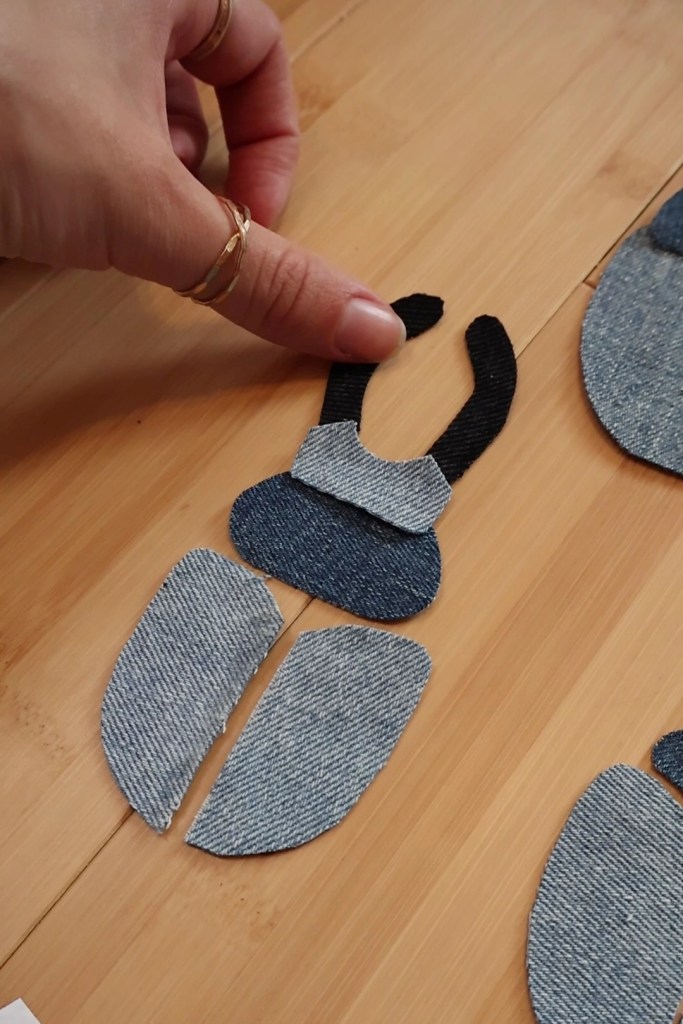
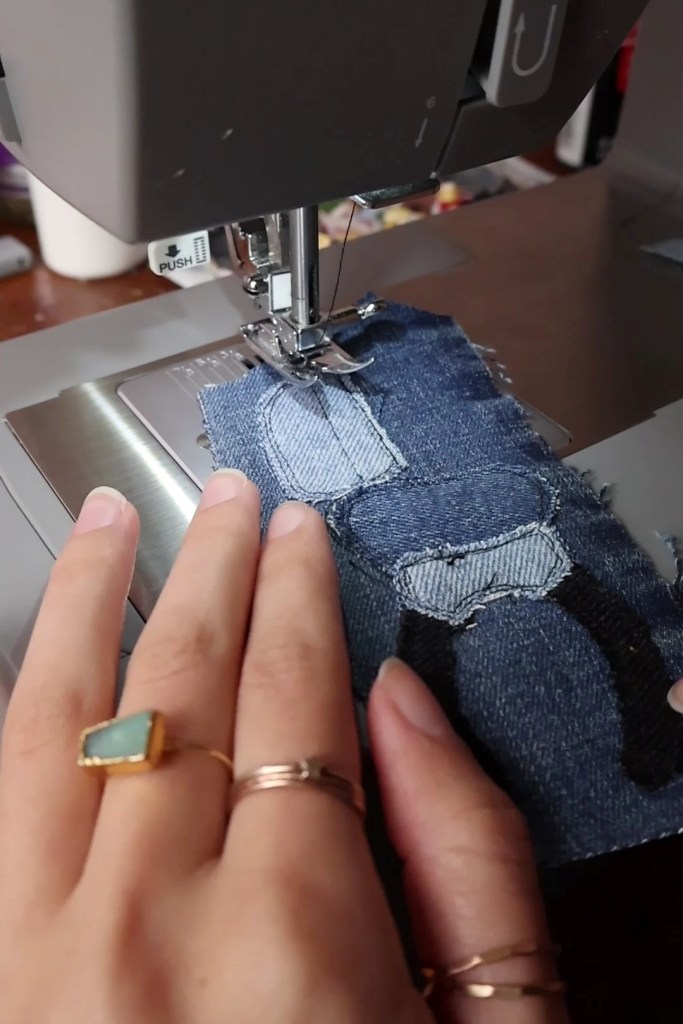
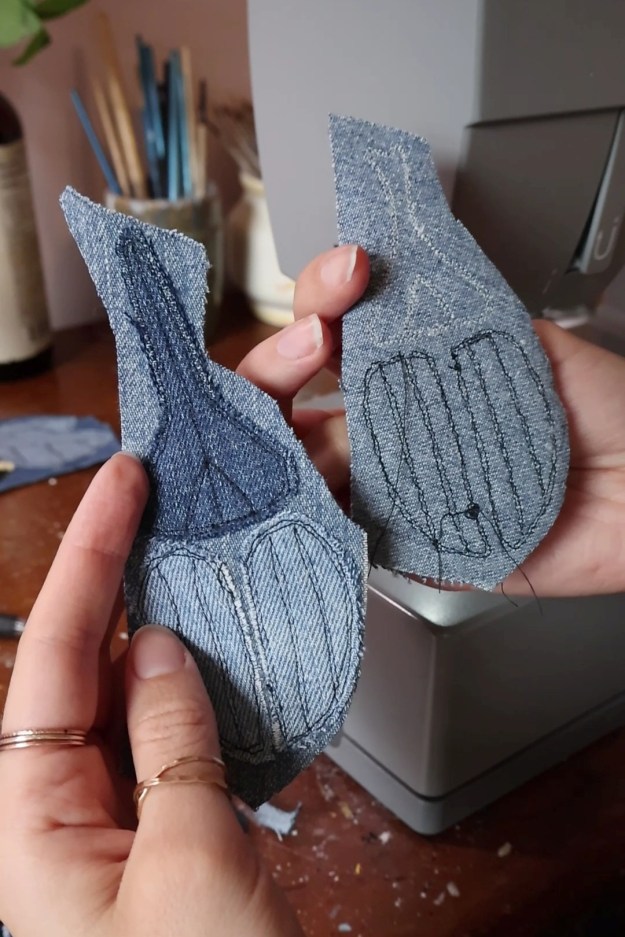
step 3. sewing the pieces together
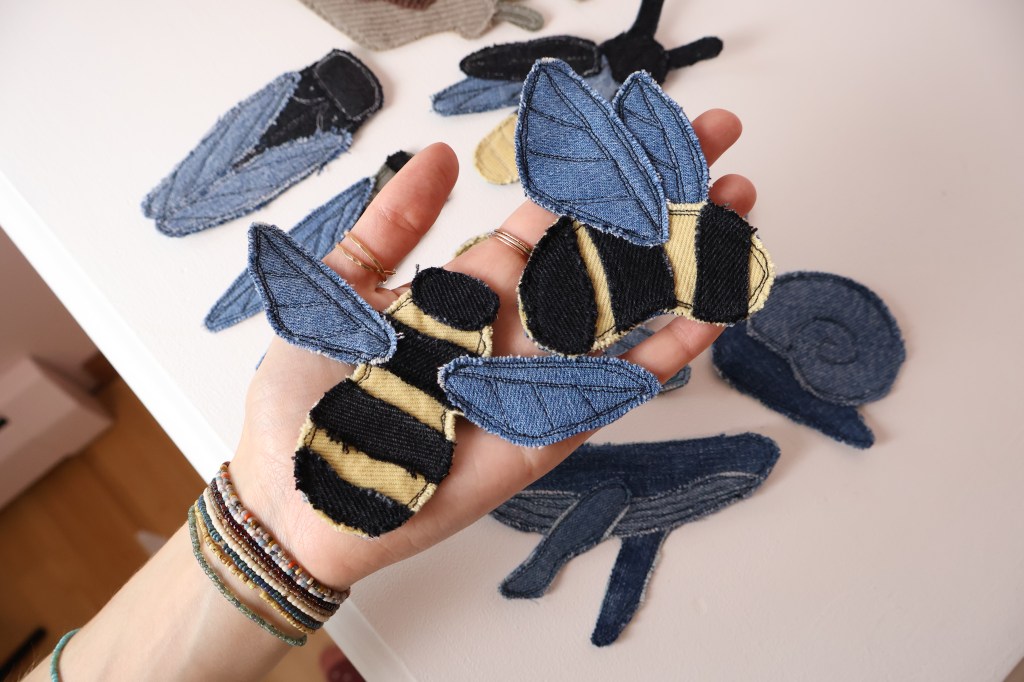
After I had a whole bunch of bugs laid out, I started sewing them together.
I used a very small stitch (in between 1 and 2 on my sewing machine), and sewed each piece onto one foundational piece of denim.
I free-handed all the lines, and I purposely made them messy for two reasons:
- the aesthetic
- the ease of not worrying too much about making them perfect
Paired with the raw edges of the denim, I think the messy lines of stitches make them absolutely perfect! I typically did two lines of stitches around everything to keep it all secure, and to add to the general laid-back aesthetic.
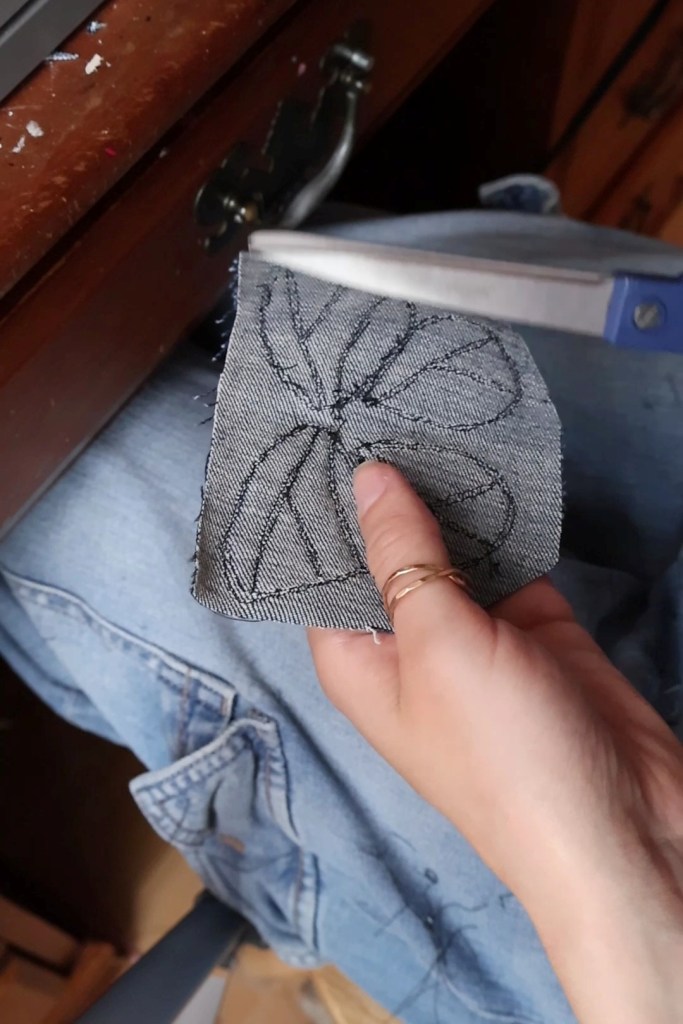
if you know how to sew, then the backs of these patches should end up pretty neat!
I do want to point out here that they sell a specific sewing machine foot for this free-style type of stitching called a free motion foot or an embroidery foot. Obviously I like to make things harder for myself, and therefore, I don’t own one.
(It would probably be a good idea to find one at this point)
It would likely be much easier to do this type of sewing with that specific machine foot, but clearly you don’t need one.
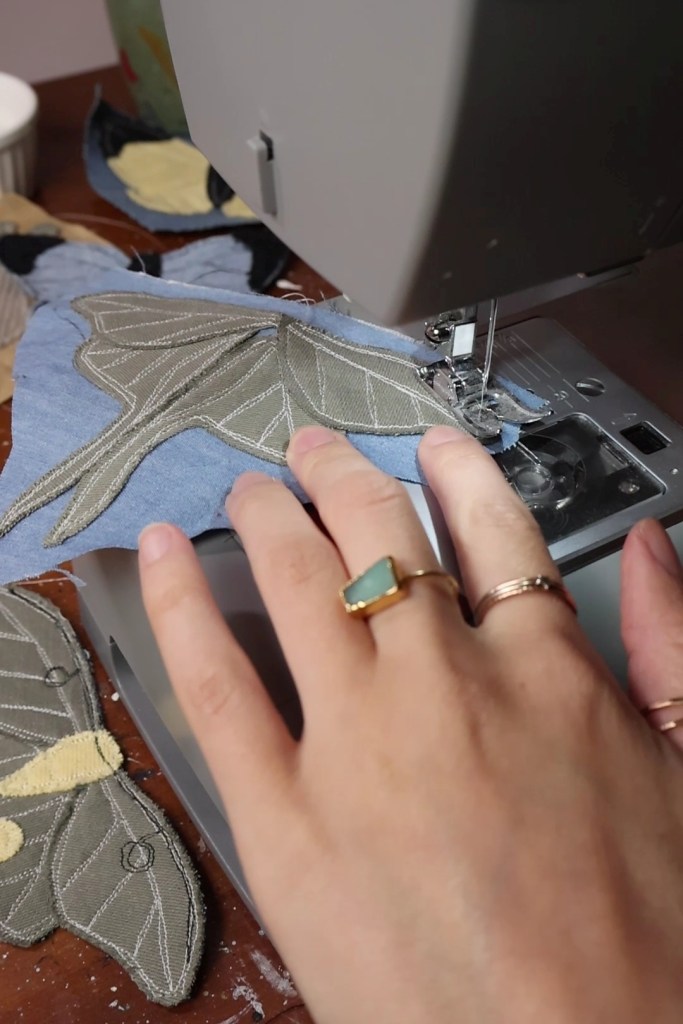

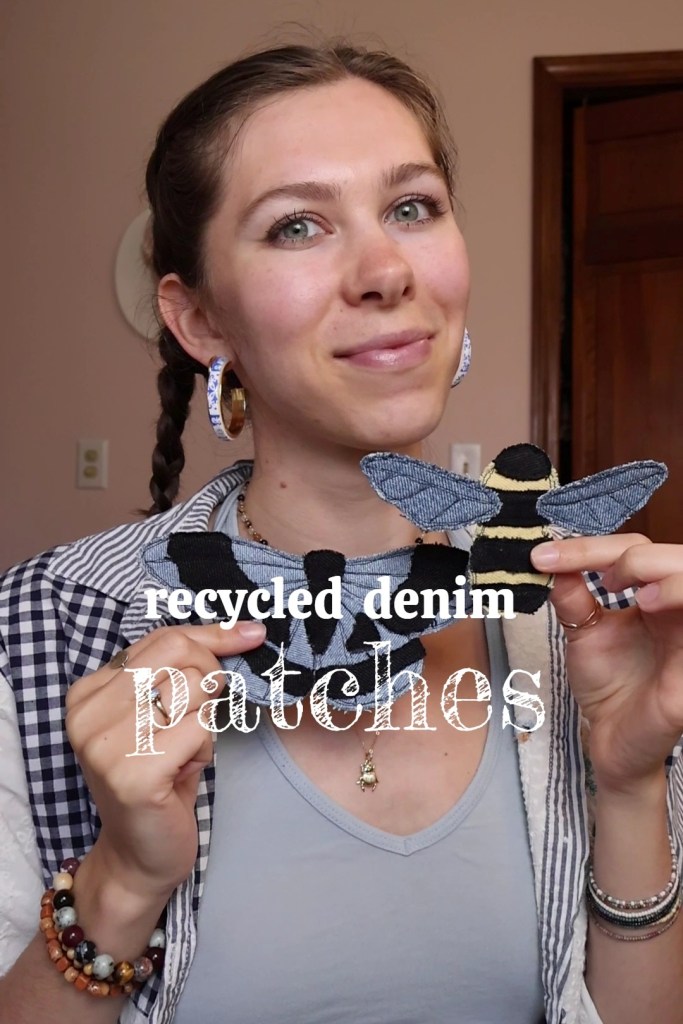
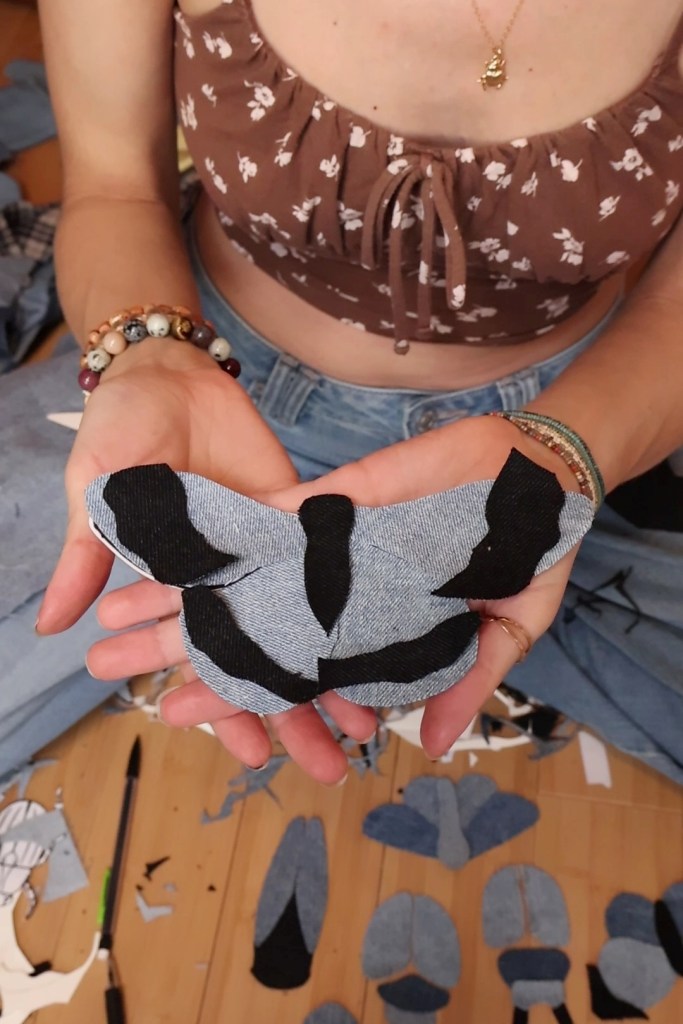
I think these luna moths took the most time and effort, but look at those lines!
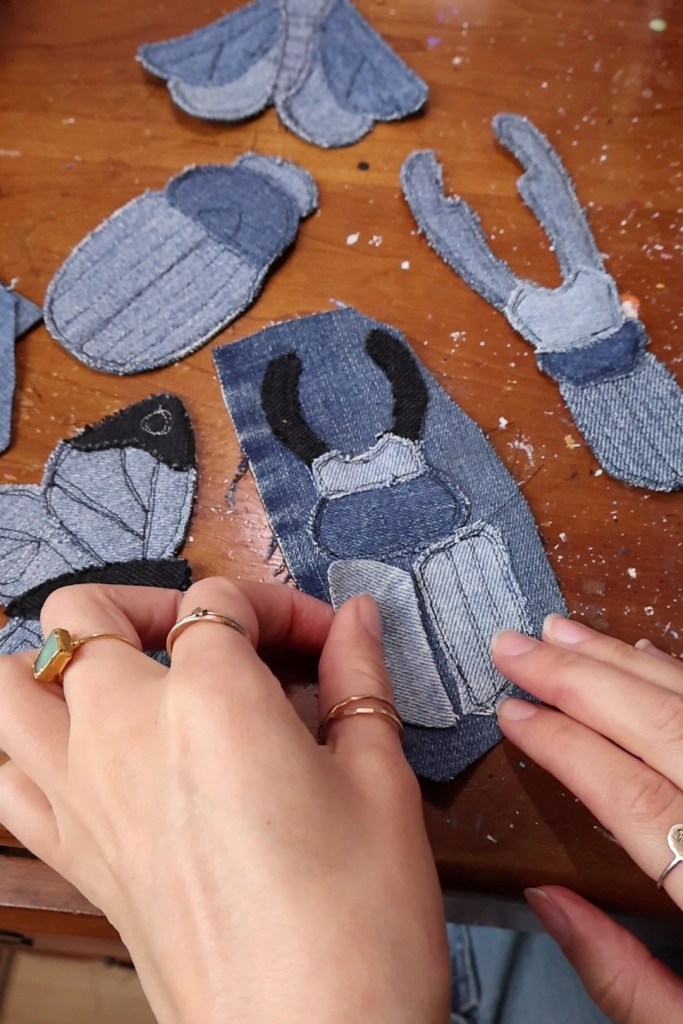
step 4. cutting them out
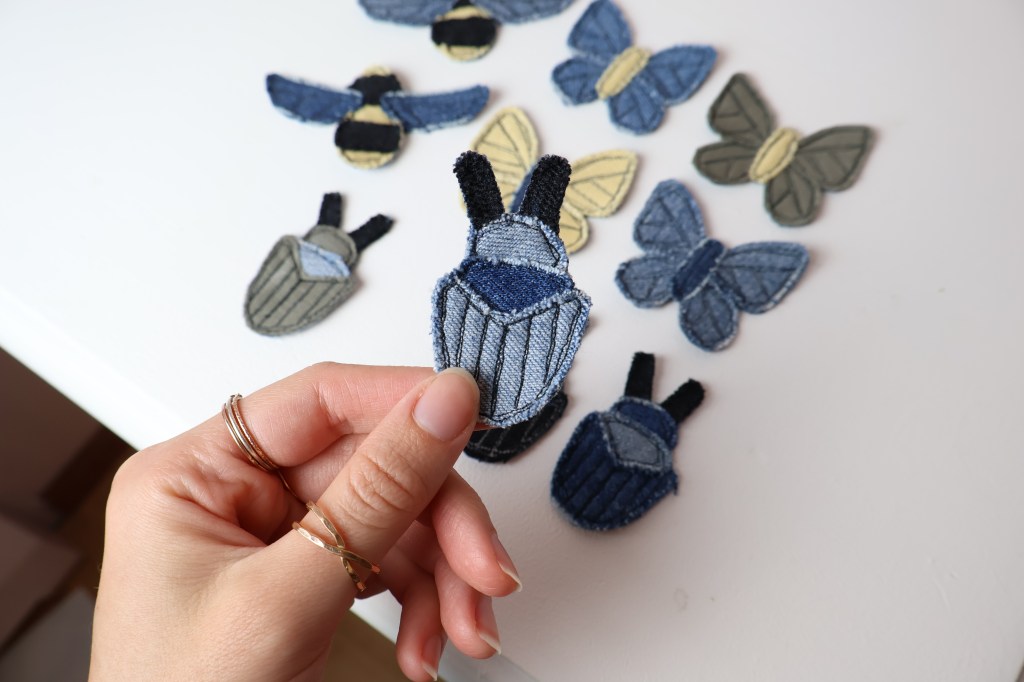
Once you’re happy with your stitch work, it’s time to cut them out!
After I cut them out, I take the extra few minutes to purposely fray the edges and trim off the long strings. The edges of these patches will continue to fray and fluff up a bit as they get used and worn, but trimming the initial strings will keep the fraying contained to an aesthetically pleasing level!
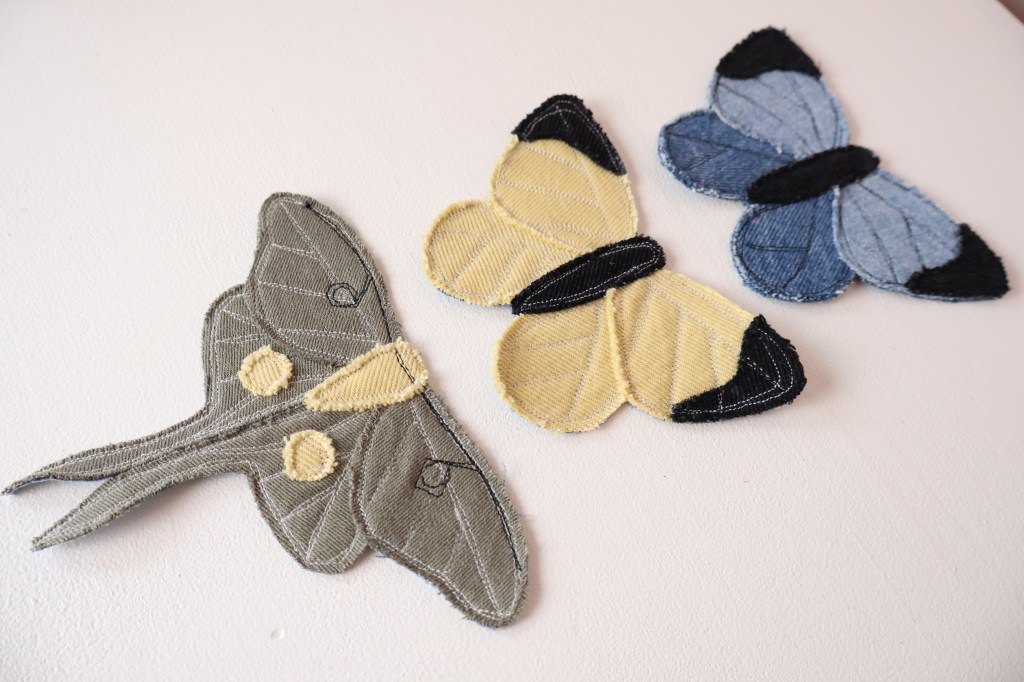
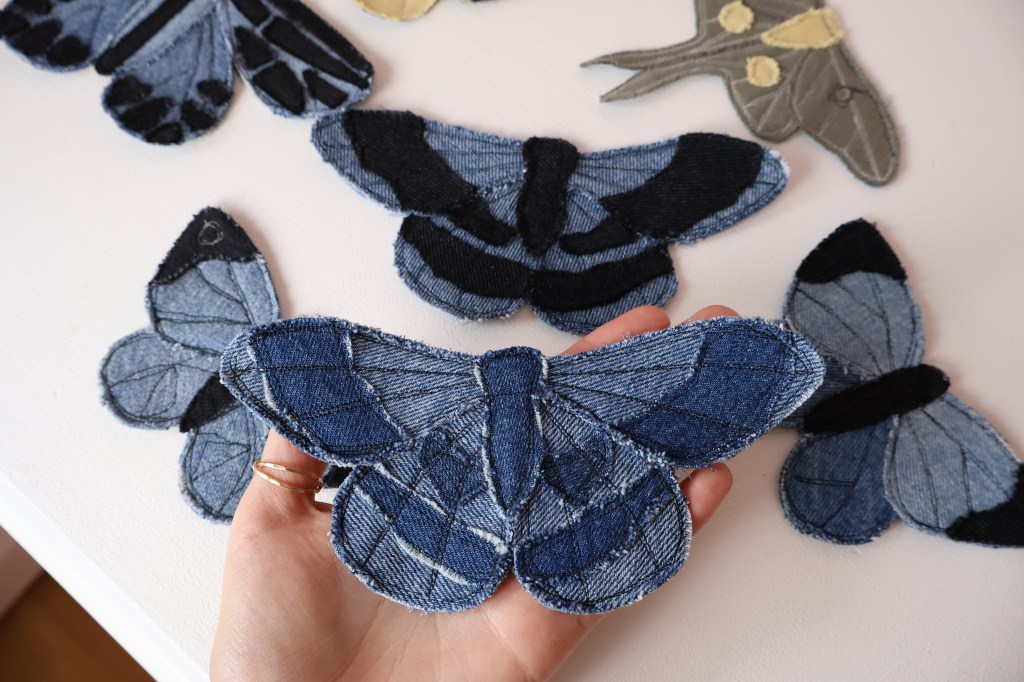
the big moths are some of my favorites, so of course I kept one for myself!
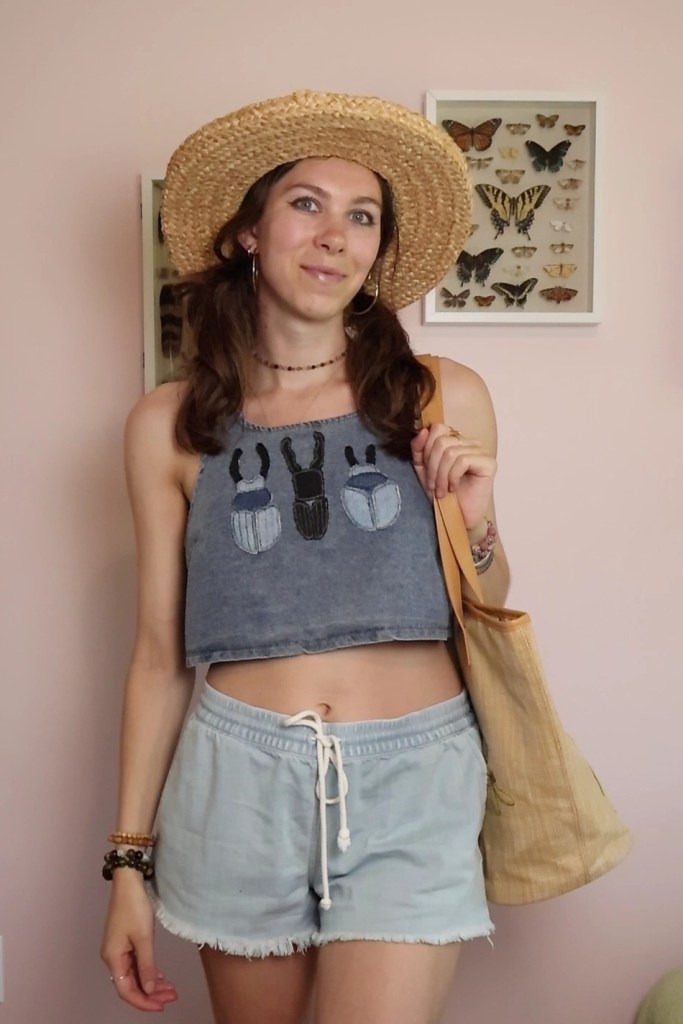
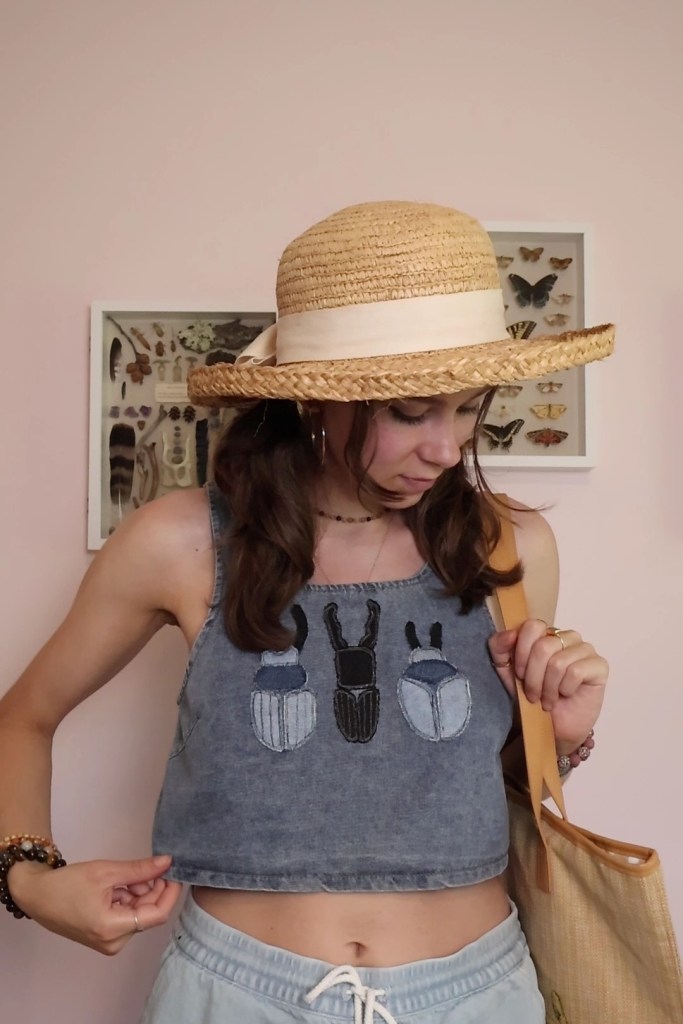
There are so many ways that you can use these patches, and I, of course, kept a few of my favorites to sew onto some of my own shirts!
They can easily be sewn onto shirts, pants, shorts, jackets, bags, hats, and whatever else you’d add decorative patches to!
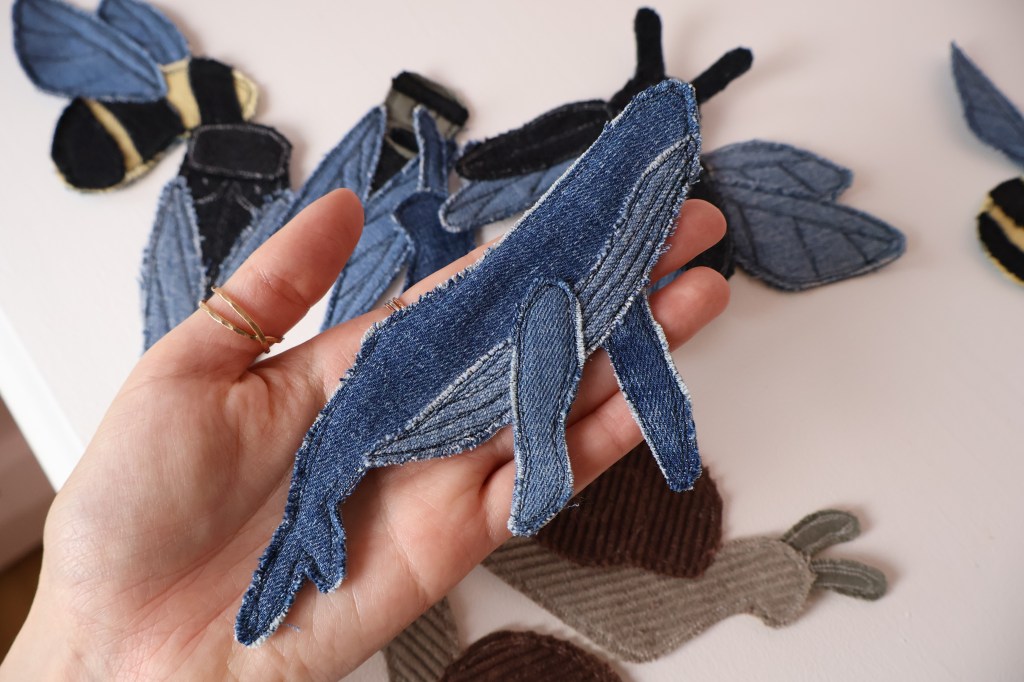
the whale sold very quickly, I think I should probably make another and restock it
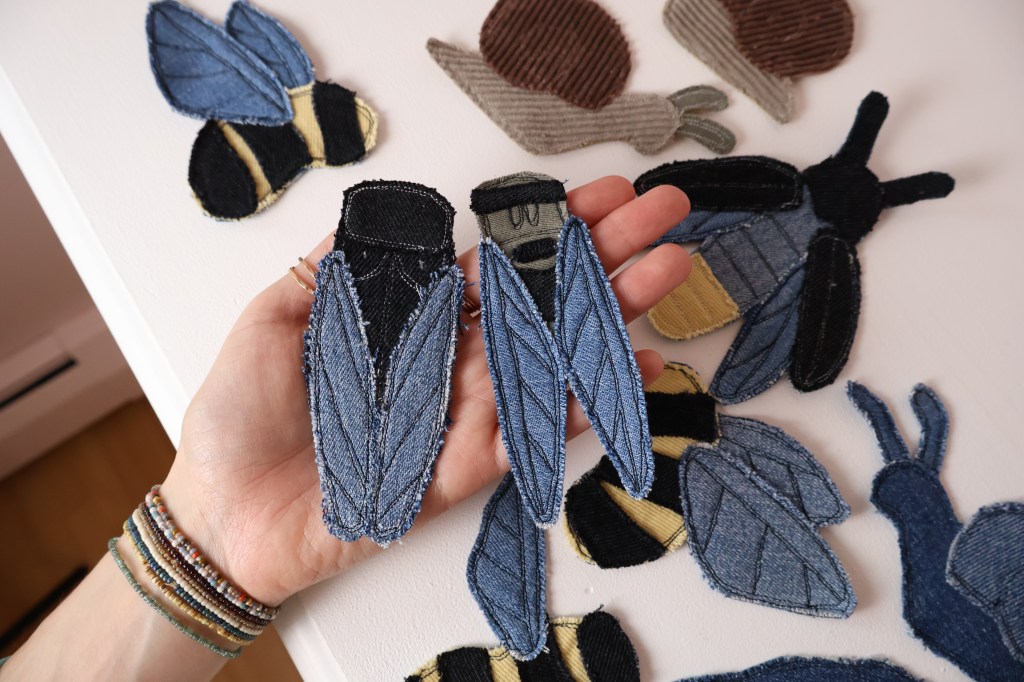
After I posted a video of me making these patches on my YouTube channel, someone asked if I could make a smaller version, so I whipped up a few tiny templates and gave it a go.
I didn’t know if it’d be infuriating to sew something so small, but I was pleasantly surprised to find that it was 100% doable, and they turned out adorable.
Now these mini patches are added to my shop as well, and you can see the video of me making them here!
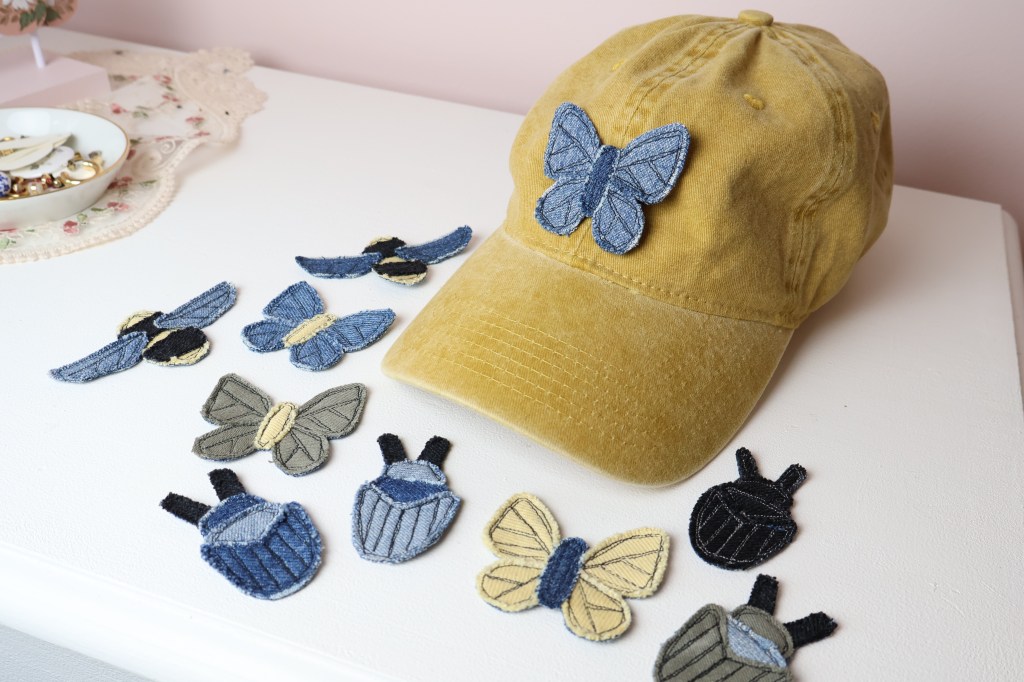
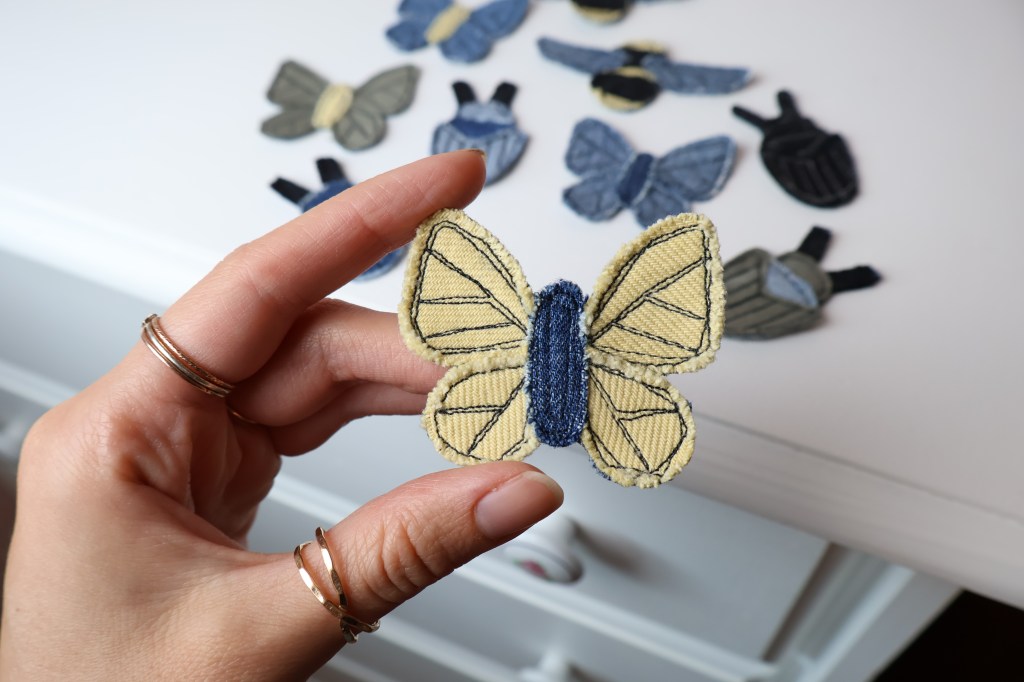
the mini patches are the perfect size to fit on baseball hats, but can also be sewn onto all the same things as the regular patches!
I’ve also been pleasantly surprised to see that these have been getting a lot of attention, not only from YouTube, but from Etsy shoppers.
They’ve been popping up in quite a few searches, and each listing has been favorited over a dozen times. I’m excited to see if this translates to more sales; at the very least it’s very exciting to see 9 people have this in their cart!
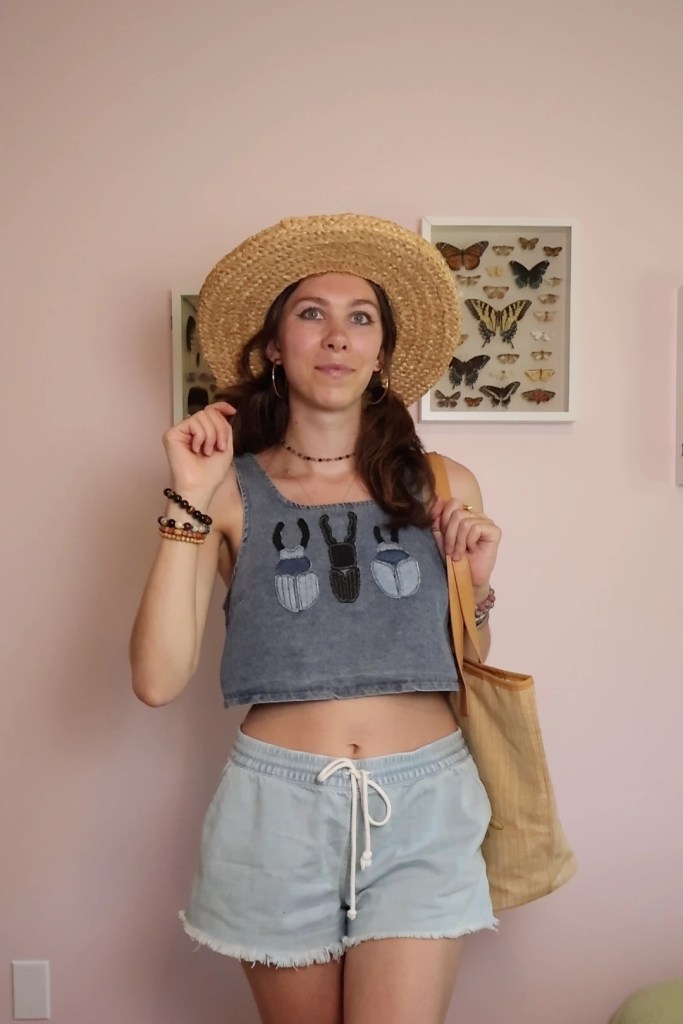
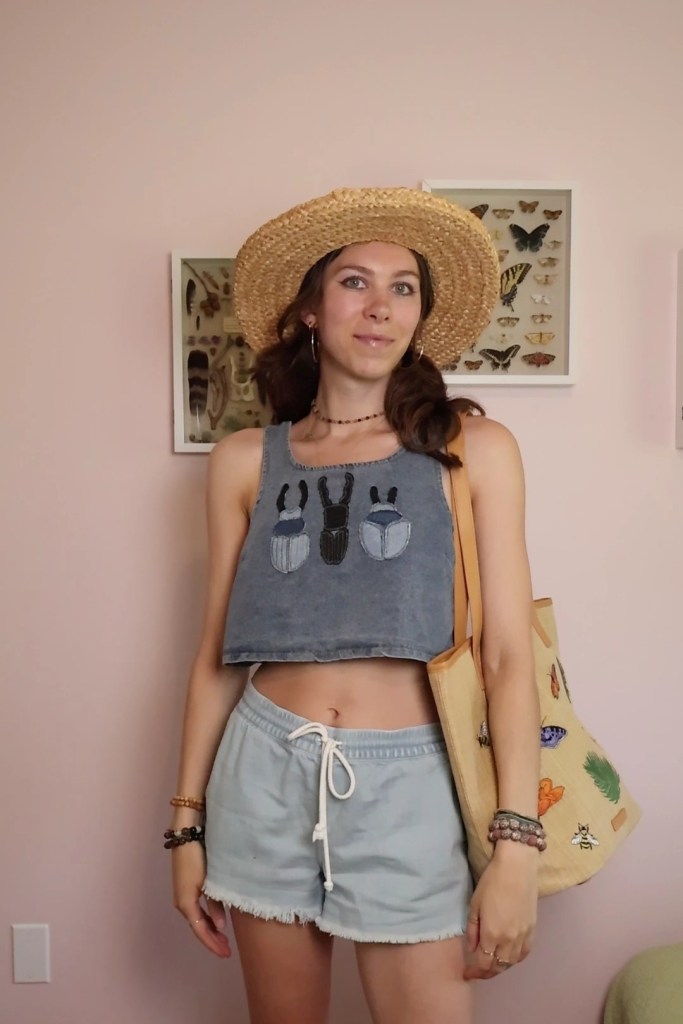
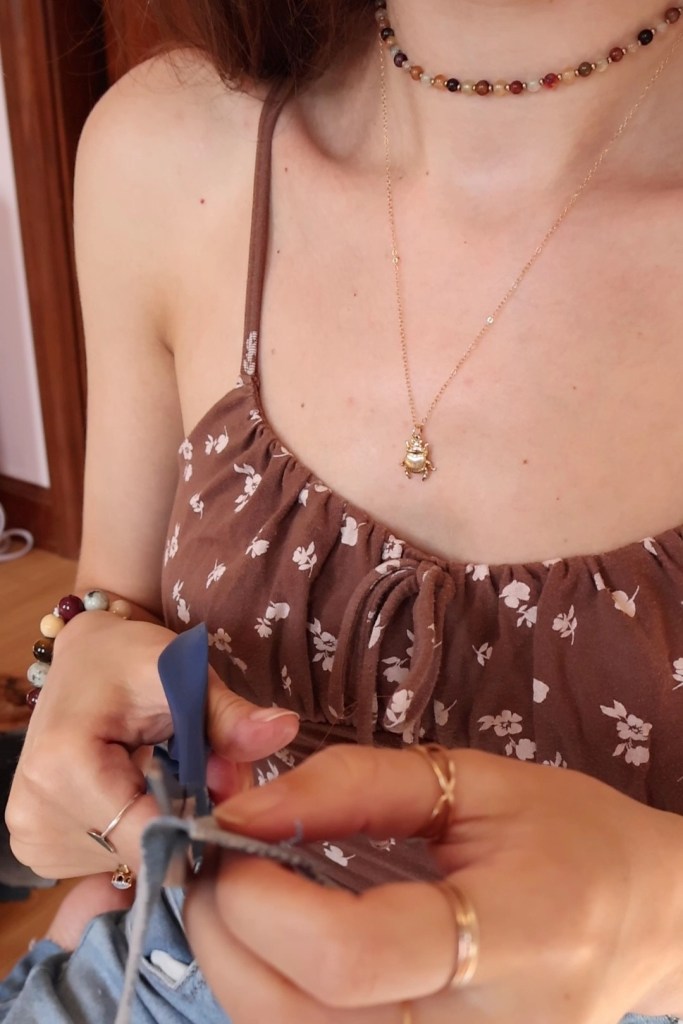
I truly brought my vision to life with this denim top; now I have to get around to sewing the rest of my patches onto other pieces of clothing!
