As I briefly mentioned in my recent post: I pinned my first butterfly.
This, of course, quickly turned into me pinning my second butterfly. And my third butterfly. And then I moved on to pinning plenty of moths and other interesting insects…but I’ll save that for another post (because my current collection deserves a whole post of its own).
And just in case y’all don’t know me already, I’ll start this post with a clear disclaimer: I only pin bugs that have already died naturally; I never kill bugs to pin, and I don’t approve of such strange activities ☝🏼🤓


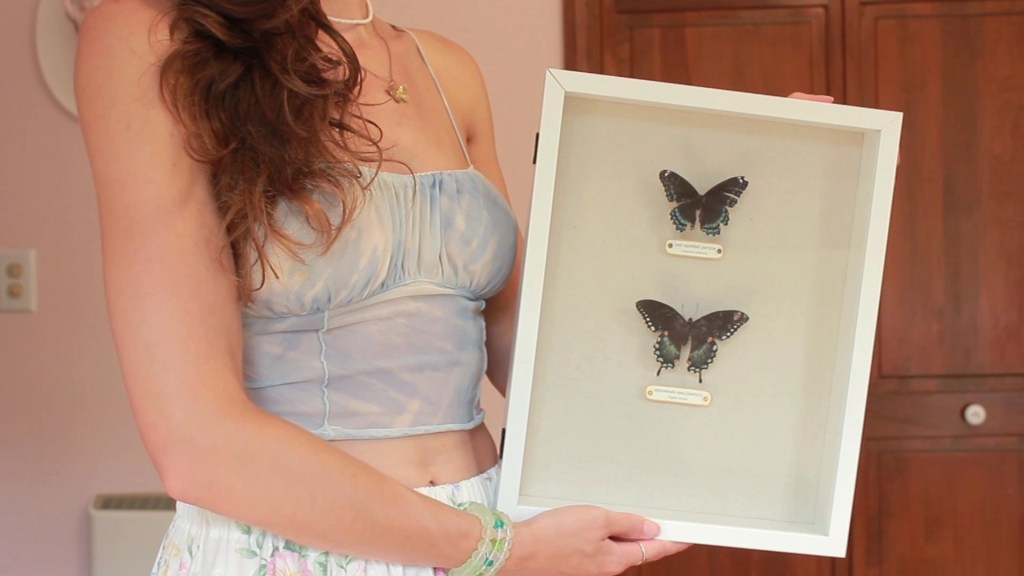
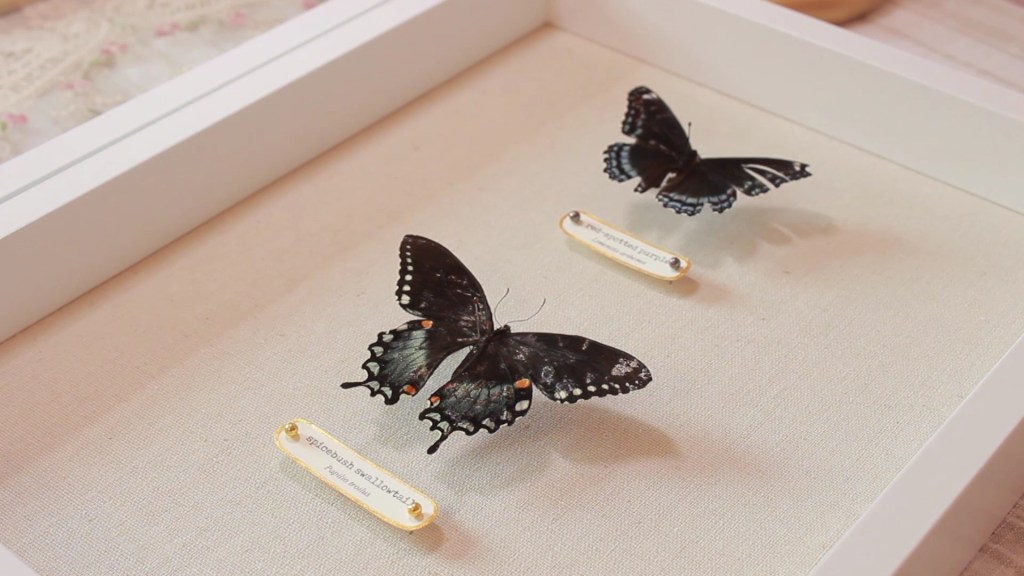
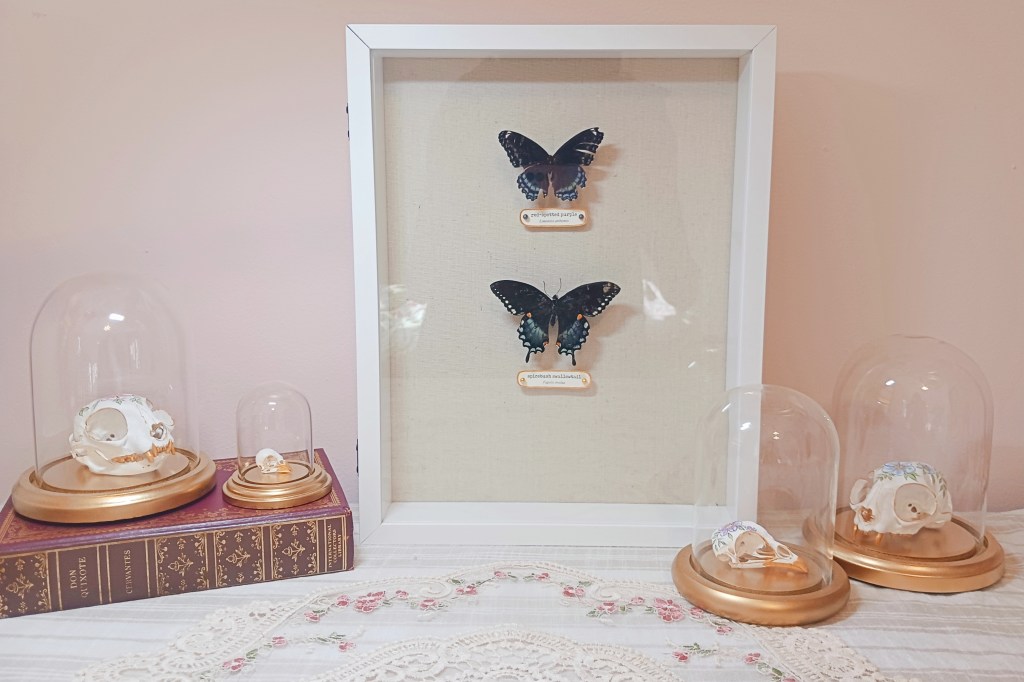
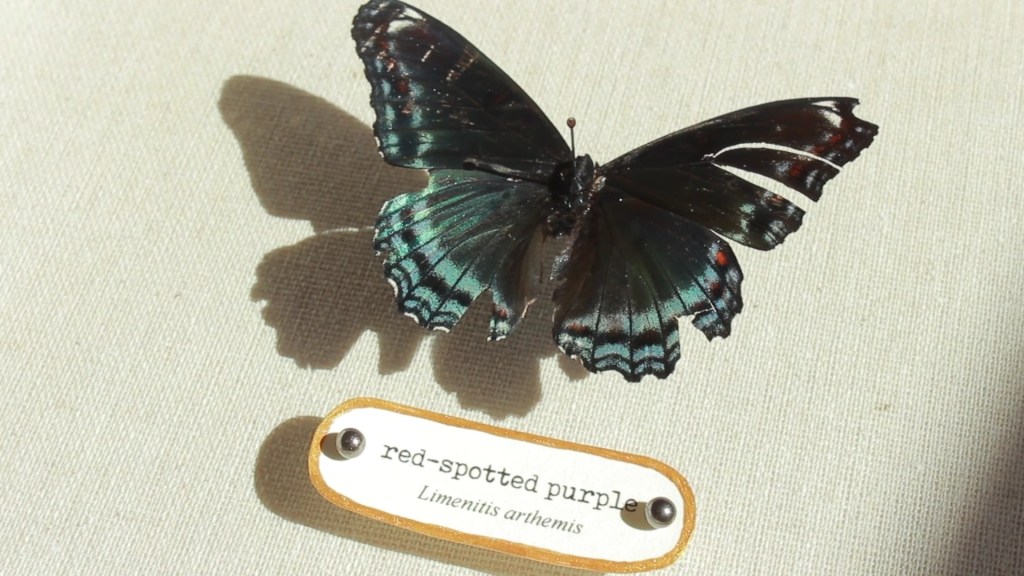
Spicebush Swallowtail (left) and Red-Spotted Purple (right)
So anyways, I mostly followed the tutorial How to Pin and Preserve Butterflies and Moths for Display on Woodlark’s blog, which was thorough and a perfect introduction to the pinning process.
I put together two longform YouTube videos showing how I pinned my first two butterflies: the Red-Spotted Purple and the Spicebush Swallowtail, but I also wanted to put the process into writing to go into more detail, and to keep it available on my blog.
relaxing the butterfly
The first step of the pinning process is to relax (or rehydrate) the butterfly. You’ll have to do this step every time, unless you’re pinning a bug right after it died (when it’s still soft and pliable). I’ve never pinned a fresh bug, so I never skip this step!


supplies:
- an airtight container
- water
- rubbing alcohol
- paper towels
- a petri dish OR piece of screen OR burlap

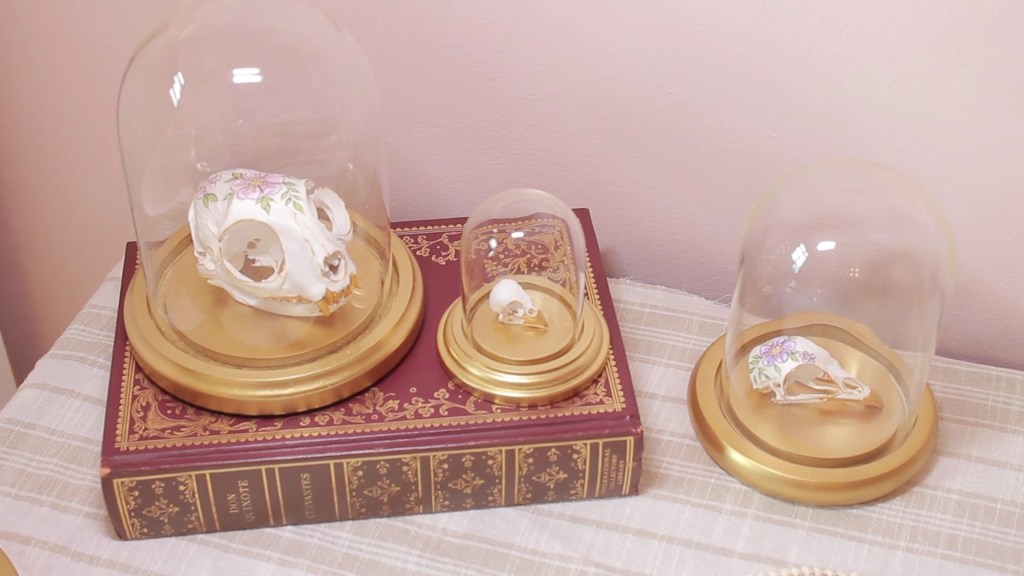
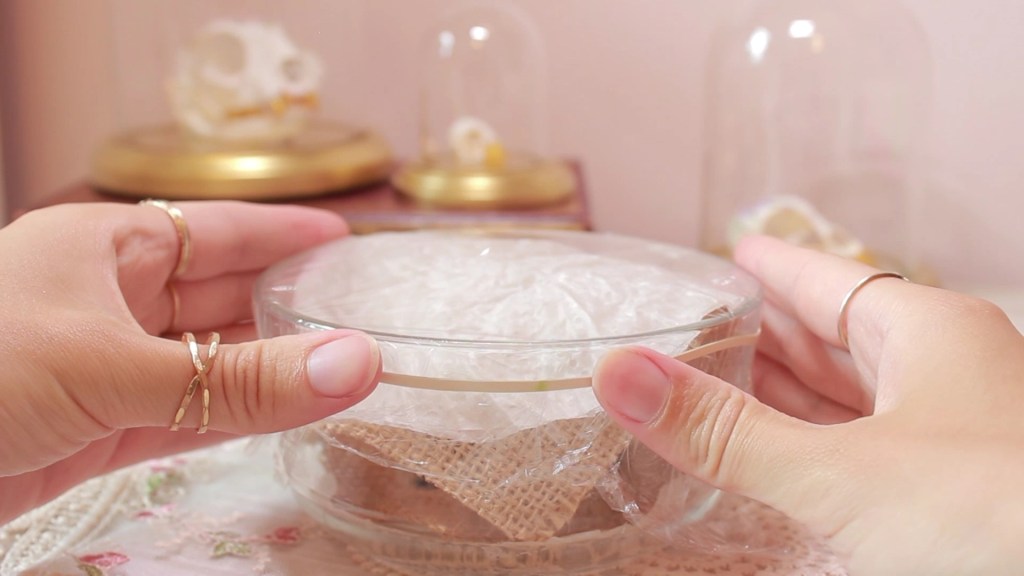
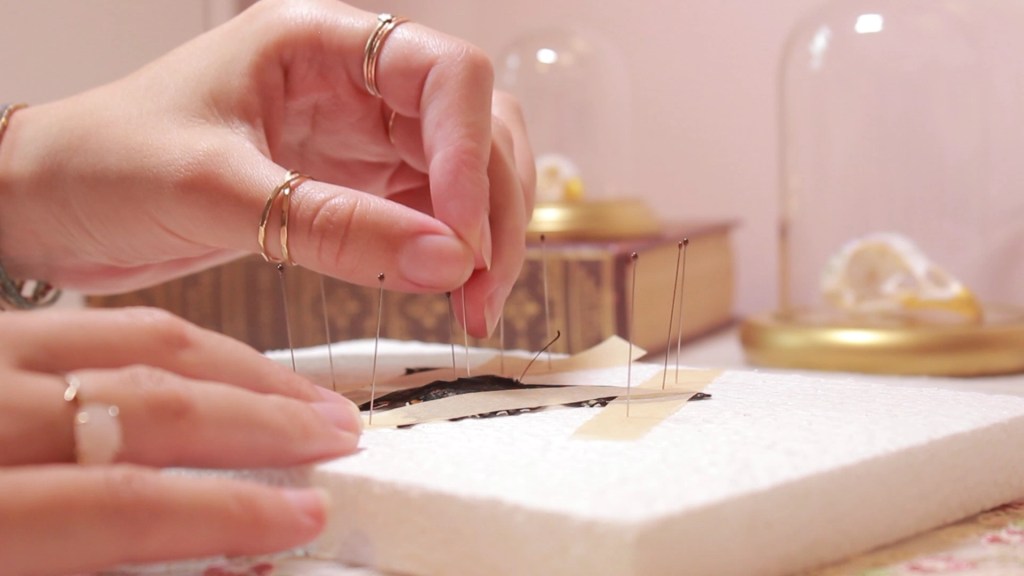
please appreciate my cute little aesthetic setup for my video, with a few of my painted skulls as background props
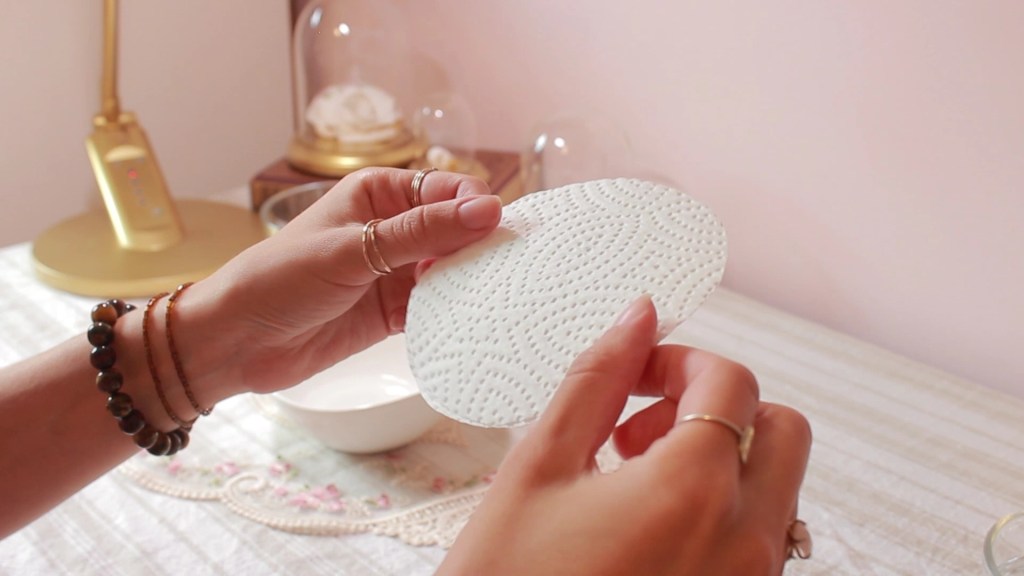
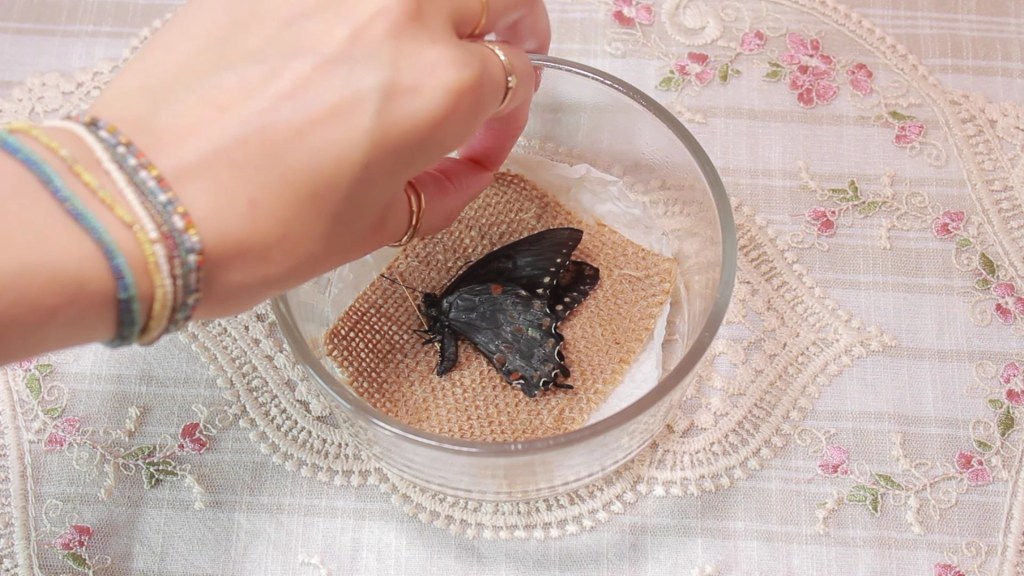
I started by creating a mixture of 50% water and 50% rubbing alcohol, and dampening a piece of paper towel in this before placing the paper towel on the bottom of my glass container.
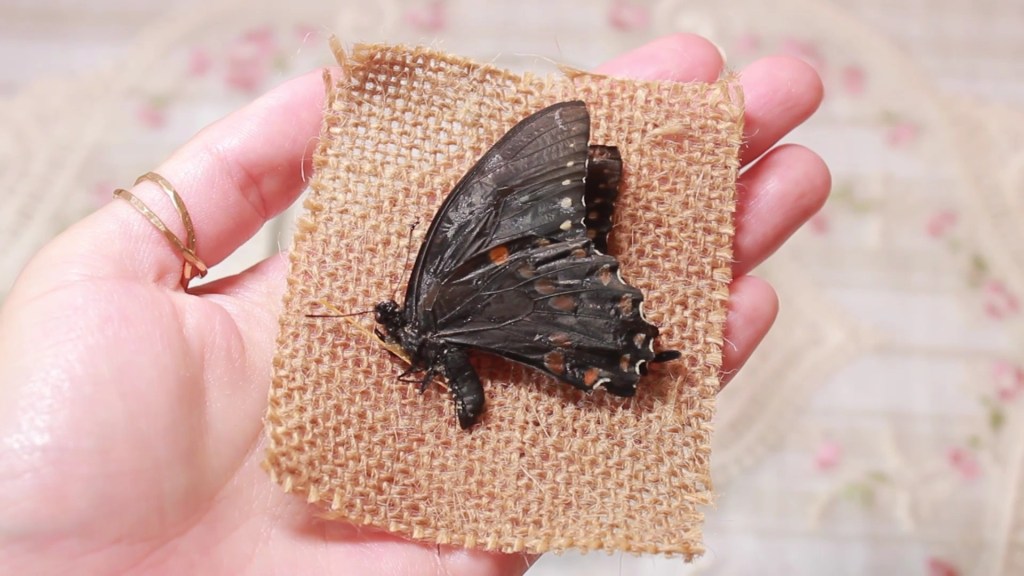
Other people recommend placing a petri dish or a small piece of screen on top of the paper towel so that the bug can be placed on that to keep it from coming in contact with the damp surface. I didn’t have either of those things on hand, so I experimented with using a piece of burlap, which worked perfectly.
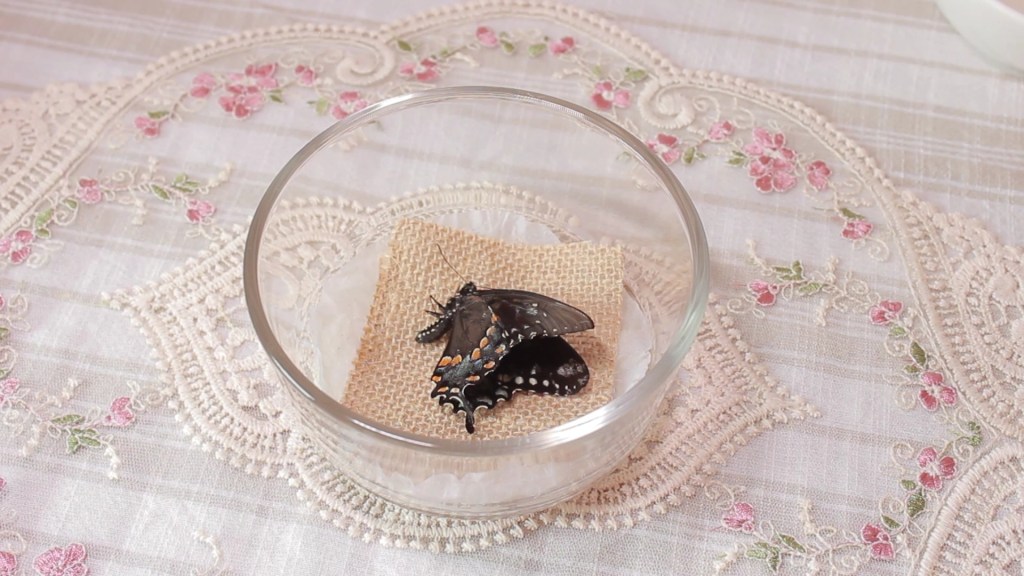
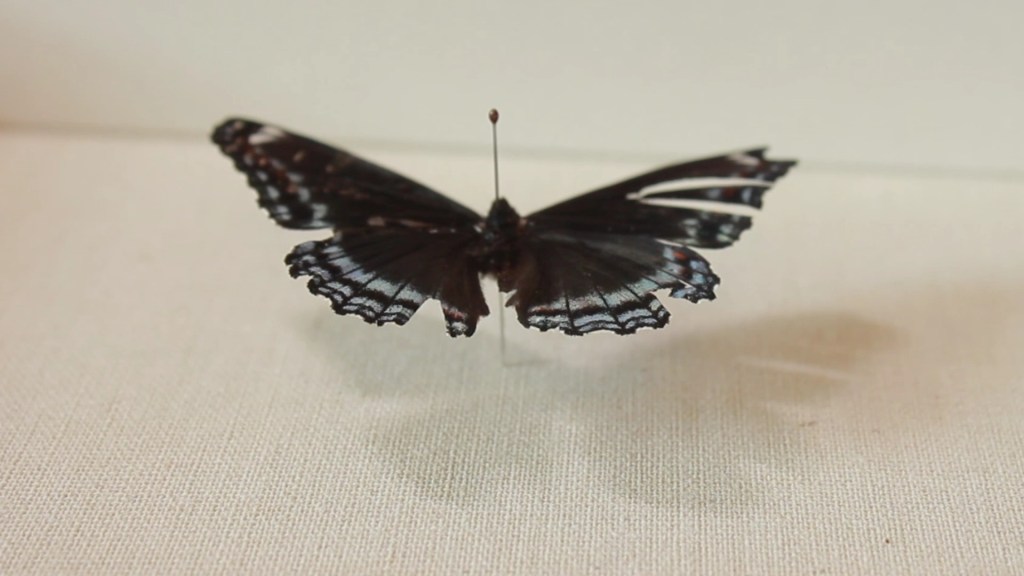
Spicebush Swallowtail ready to be relaxed
After placing the bug in the container (on top of the burlap), I placed another piece of burlap over the top, doming it so that it didn’t touch the butterfly inside.
I then put another piece of damp paper towel on top of that, and sealed the container with plastic wrap and an elastic band.

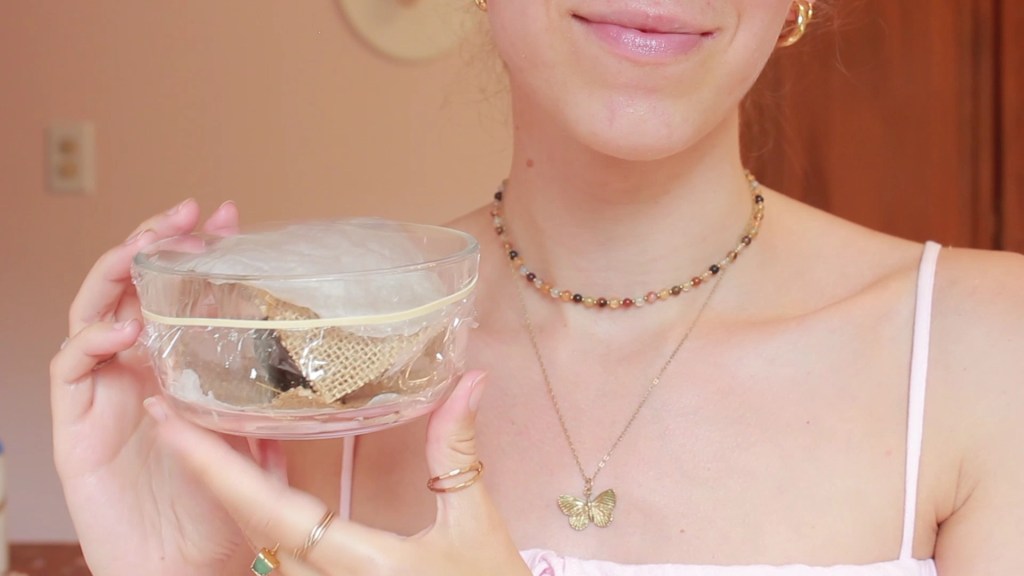
Next comes the patience, because you have to let it sit for 24-48 hours; I let mine sit for closer to the 48-hour mark.
Apparently you can check the legs with a toothpick to see if they’re ready to work with after the first 24 hours, but I will say: if this is your first time pinning, you probably won’t really know what you’re looking for. I definitely didn’t. But I figured after 40 hours of sitting in humidity, it had to be ready to work with.
pinning the butterfly
supplies:
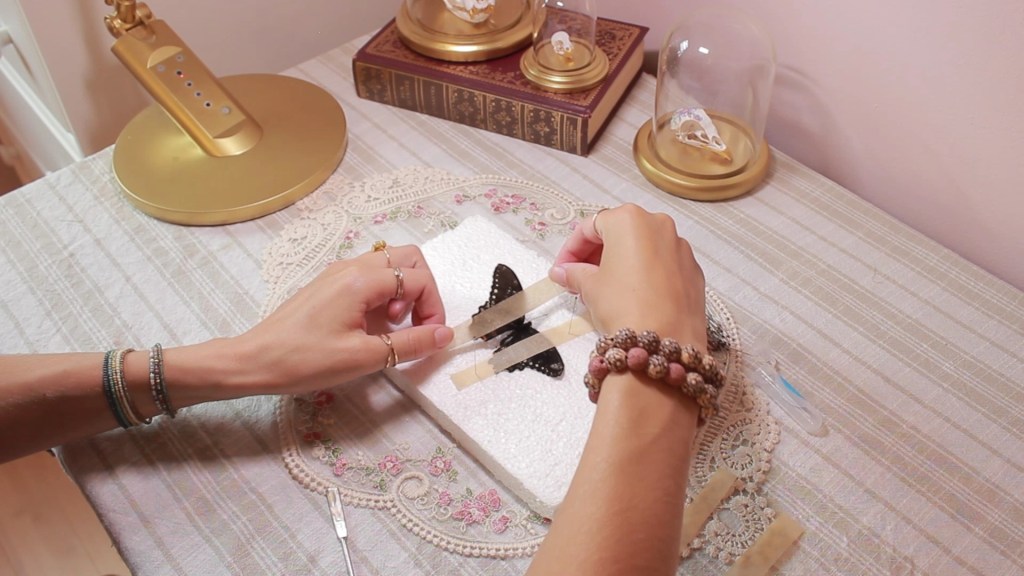
- spreading board (or a piece of styrofoam)
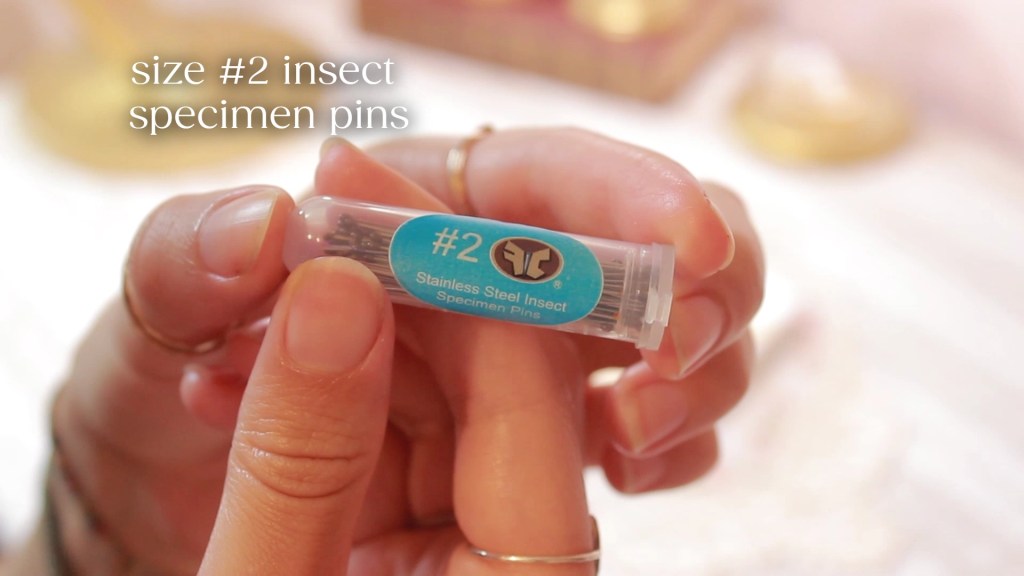
- #2 insect specimen pins
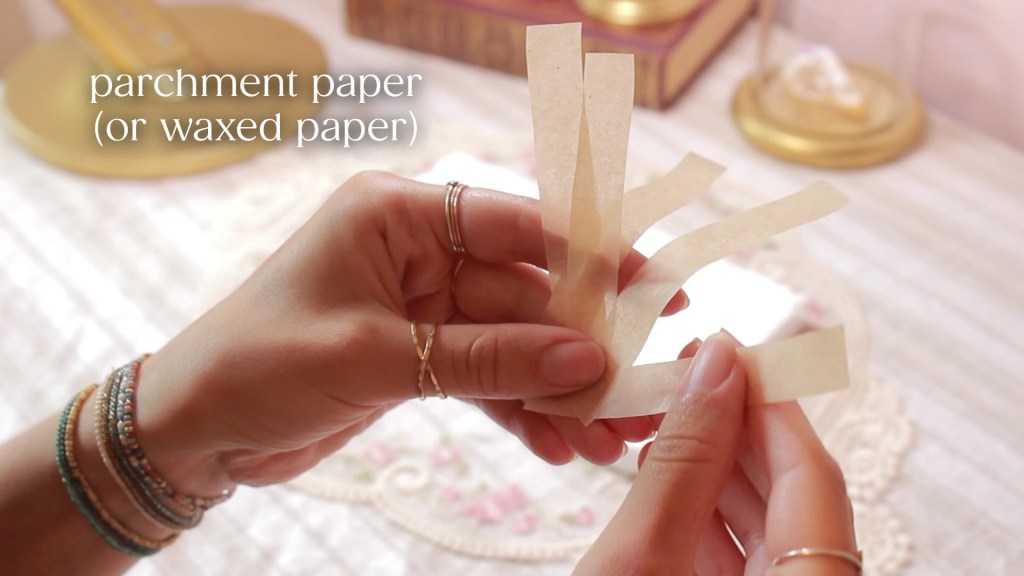
- waxed paper or parchment paper
Start by making sure that you have all your supplies ready and easily available, because once you have your butterfly out and in progress, you aren’t gonna wanna start scrambling to grab what you need (and yes, of course I’m speaking from experience).
If you don’t have a spreading board/pinning board already, you can make your own (for free) out of a piece of styrofoam.
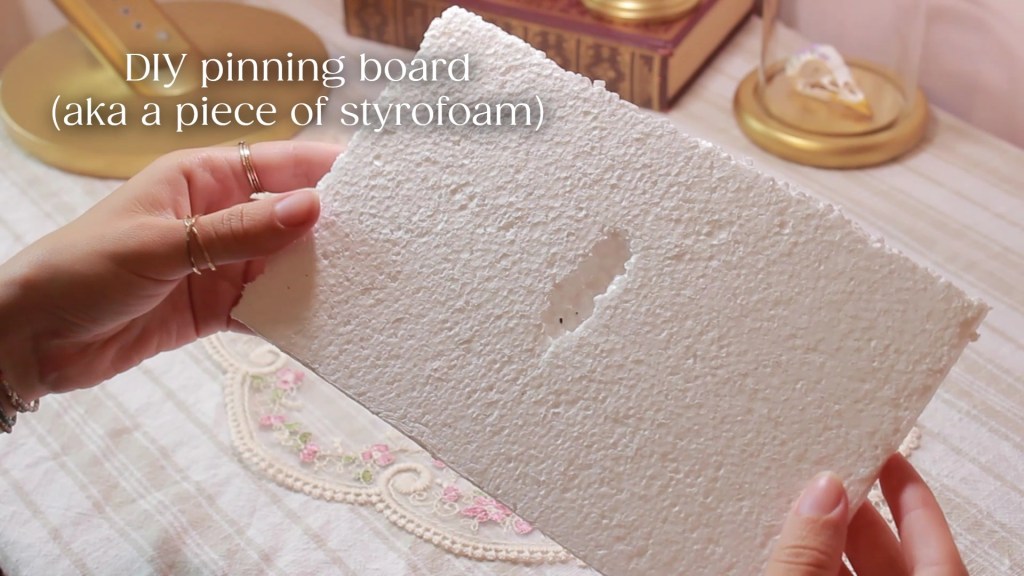
You really don’t need much; I just carved out a shallow ditch big enough to place the butterfly body in (yes, it’s giving ✨serial killer✨), and I was ready to go.
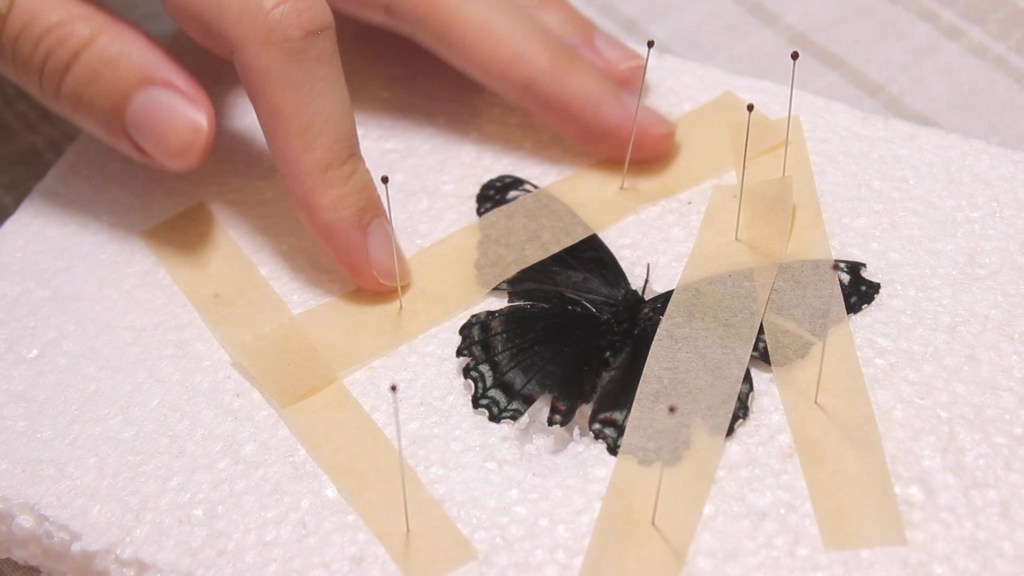
I also cut a whole bunch of thin strips of parchment paper (waxed paper was recommended, but I didn’t have any on hand, and parchment paper worked just fine), and had my #2 stainless steel insect pins ready.
Woodlark’s tutorial told me that if you give the butterfly’s thorax a gentle squeeze then you should see the wings separate a bit to begin the process, but 1. I think that kinda depends on how good of a shape the insect’s body is in (in my case: not great shape), and 2. it simply didn’t work for me.
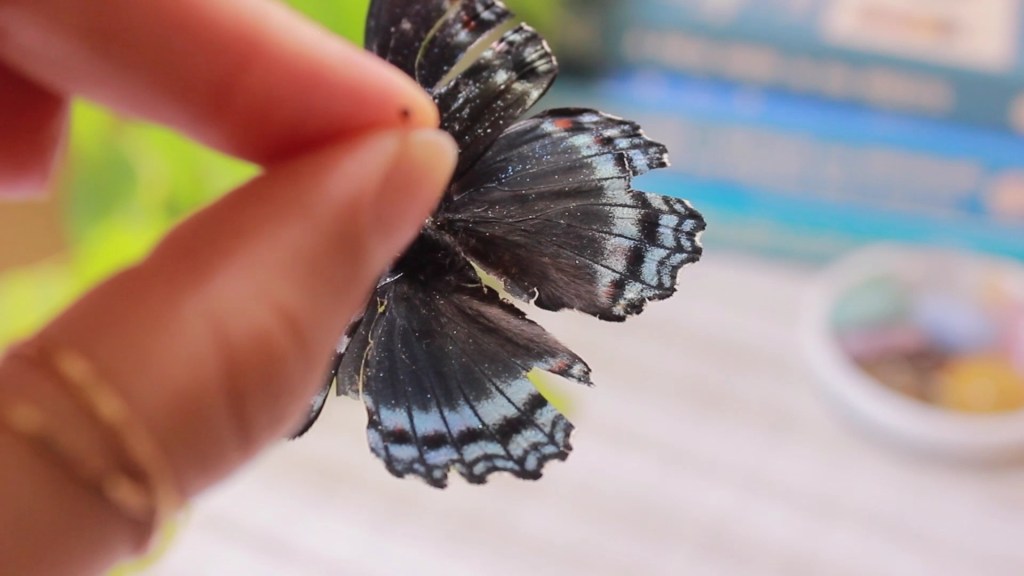
when you take your butterfly out of the humidity chamber it’ll probably look darker in color, and have lost the shimmers to its wings, but don’t worry, everything will look normal again once it dries!
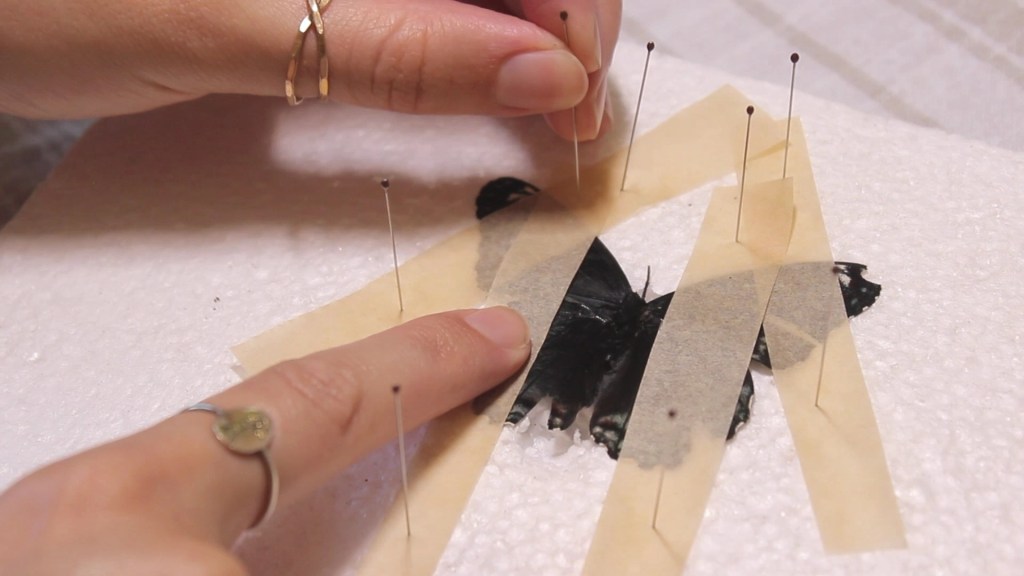
So I just slid one of my pieces of parchment paper in between the two sets of wings, and managed to get one side pinned to the board before gently opening the other side and pinning them open.
It’s recommended to get a pin through the butterfly’s body first and foremost (before starting to pin the wings), but depending on how the butterfly is sitting, I found it to be quite difficult in some cases.
I found that it works fine to spread the wings first, and then pin the body. But that’s just me; if you can get the pin through the body first, I’m sure the process would be easier!

Also, I should note that I did forget the pin through the body completely on the first butterfly that I pinned, but thankfully I was able to get it in without causing damage after the butterfly was already pinned and dried (definitely wouldn’t recommend).
The initial wing spreading is typically the most tedious part for me, but once I’ve got it laid out, it’s generally pretty smooth sailing.
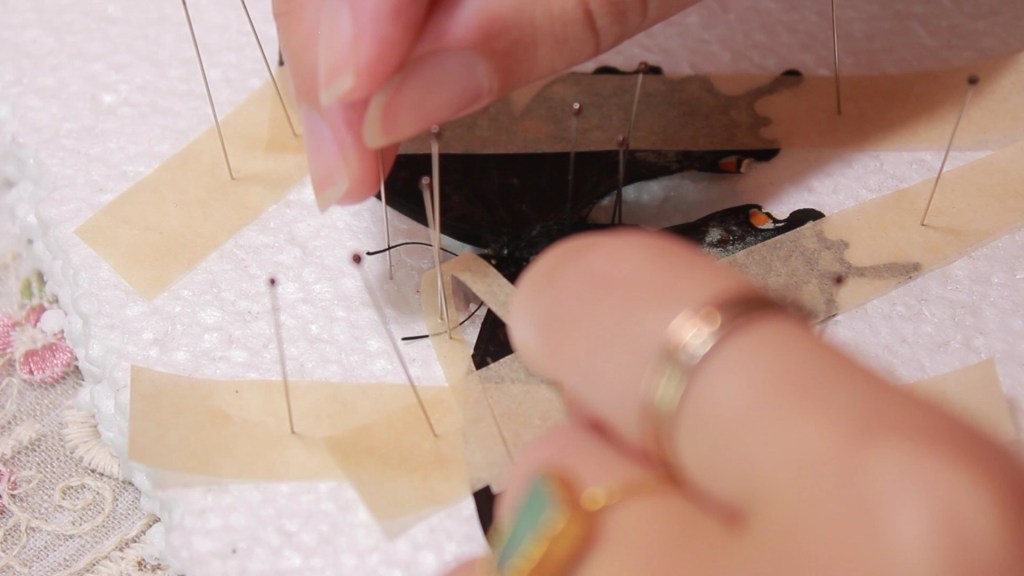
After both sides are pinned open, I carefully remove the parchment paper from one side at a time to reposition the wings. At the time it feels kinda counterproductive, since I just managed to get the wings open, but it’s all part of the process.
Insect pinning forceps are recommended by everyone, since insects are super delicate, and when you’re dealing with butterflies and moths you’re trying to rub off as little scales as possible from their gorgeous wings. But I found that I trusted my fingers a lot more than I trusted the forceps (I was much more prone to tearing wings with the forceps), so although I ended up with a few scales on my fingertips, it didn’t make much of a difference when it came to the end result, and I was more confident this way.
I gently pulled the top wing upward, to get a full-spread position, and pinned a piece of parchment paper over that wing to keep it in place, before I repositioned the bottom wing and added a second piece of parchment paper pinned over both the wings.
The first butterfly I pinned (Red-Spotted Purple) didn’t have much of a body, legs, or antenna left, but the second butterfly I pinned (Spicebush Swallowtail), had everything intact, despite the body being pretty crushed.
The antenna did require quite a bit of patience, and I think I could’ve done them better, but considering the fact that it was my first time pinning antenna, the outcome was fine.
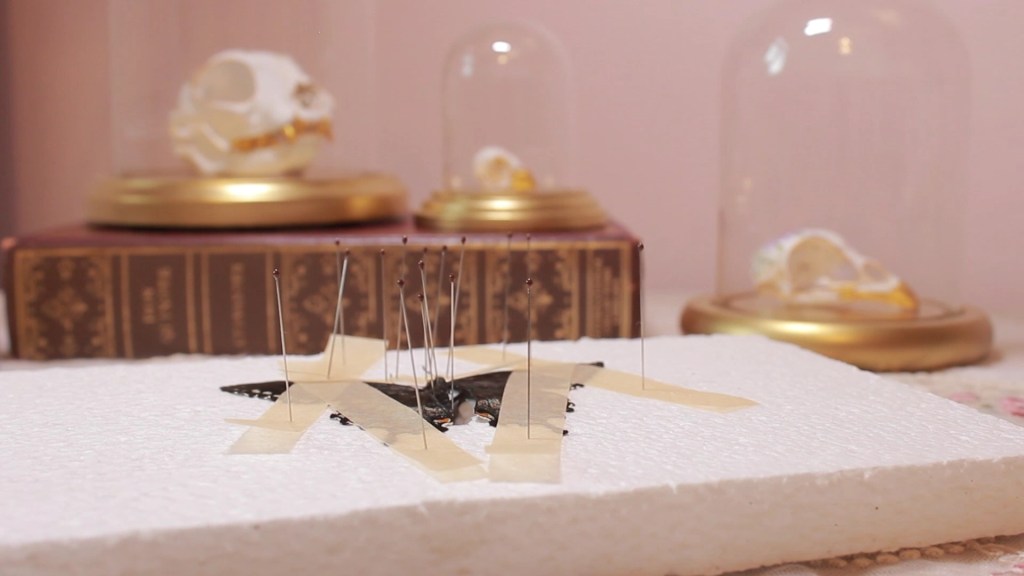

After you’re done pinning, and have made sure that everything is even, and you’re happy with the positioning, you’ll just let it sit to dry for the next 24-48 hours.
Yes, unfortunately more patience is required.
Once you’re sure that everything is dry, you just remove all your parchment paper and pins (aside from the one through the body), and the butterfly is done!
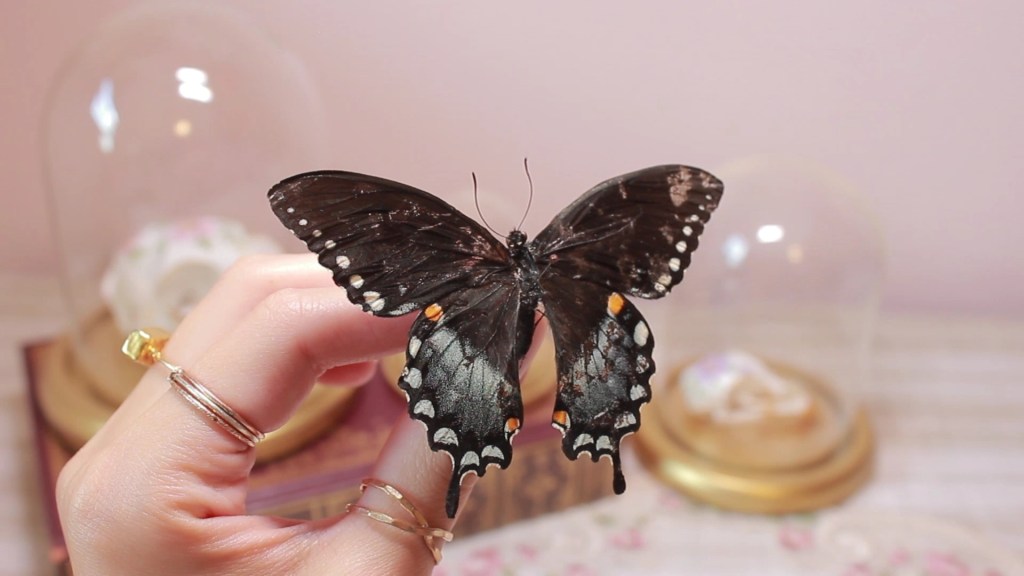

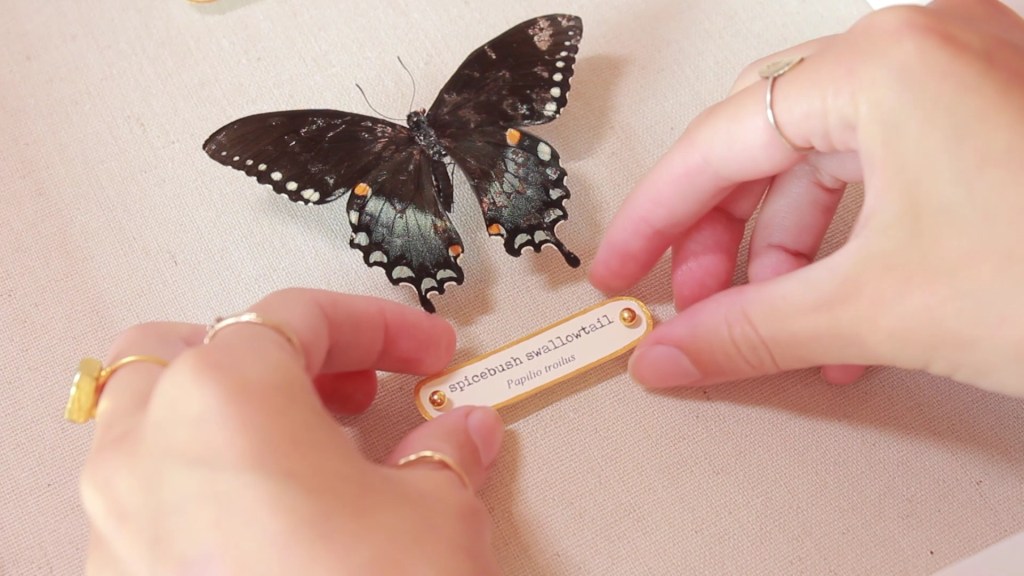
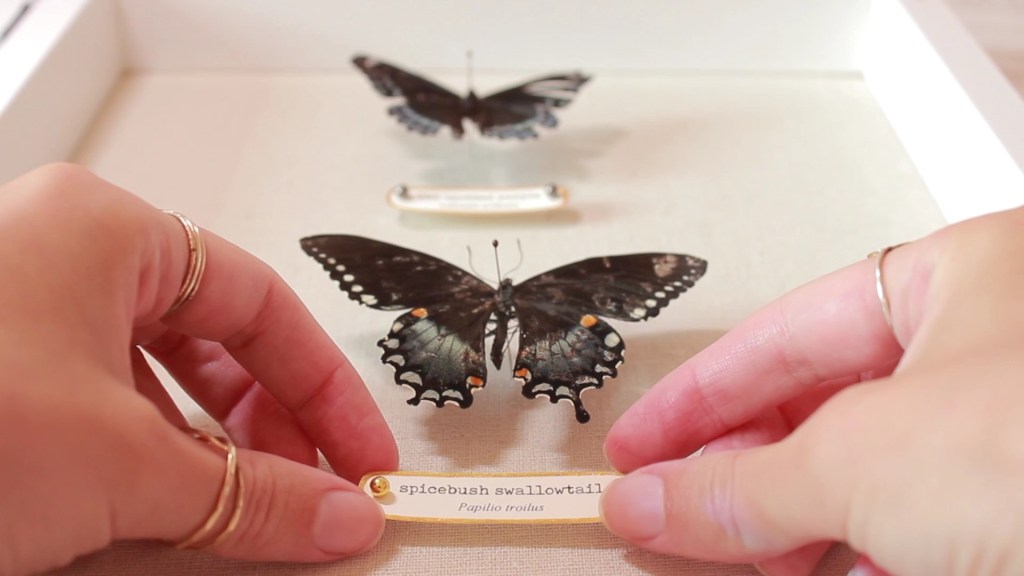
Spicebush Swallowtail (Papilio troilus)
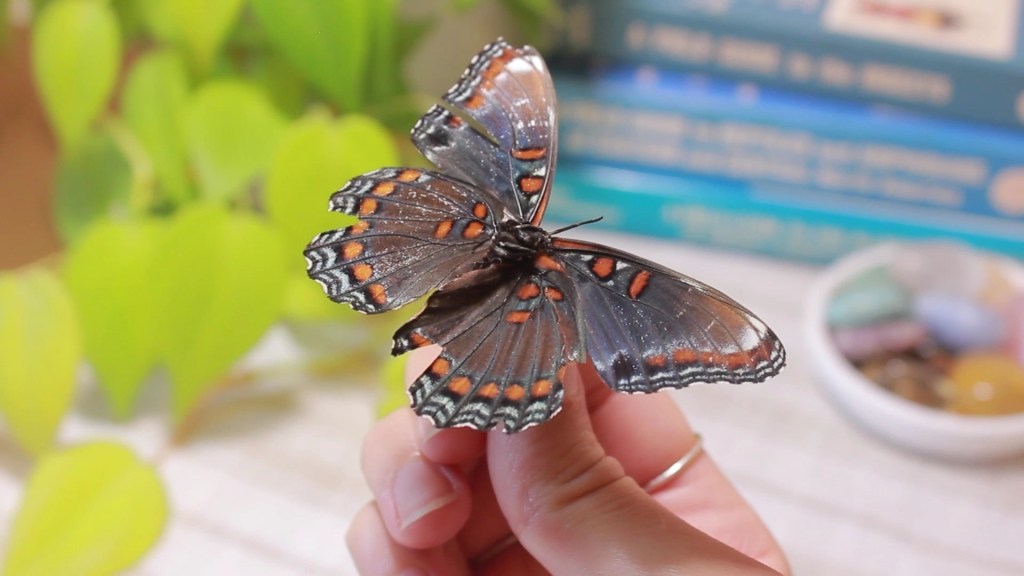
Red-Spotted Purple (Limenitis arthemis)
finishing touches
My initial idea was to print out all the insects’ names and scientific names and outline the nametags in a metallic gold paint (that matches everything gold in my room), and although I loved the outcome (and it made for a super aesthetic finish to my videos), I’ve since scrapped the idea.
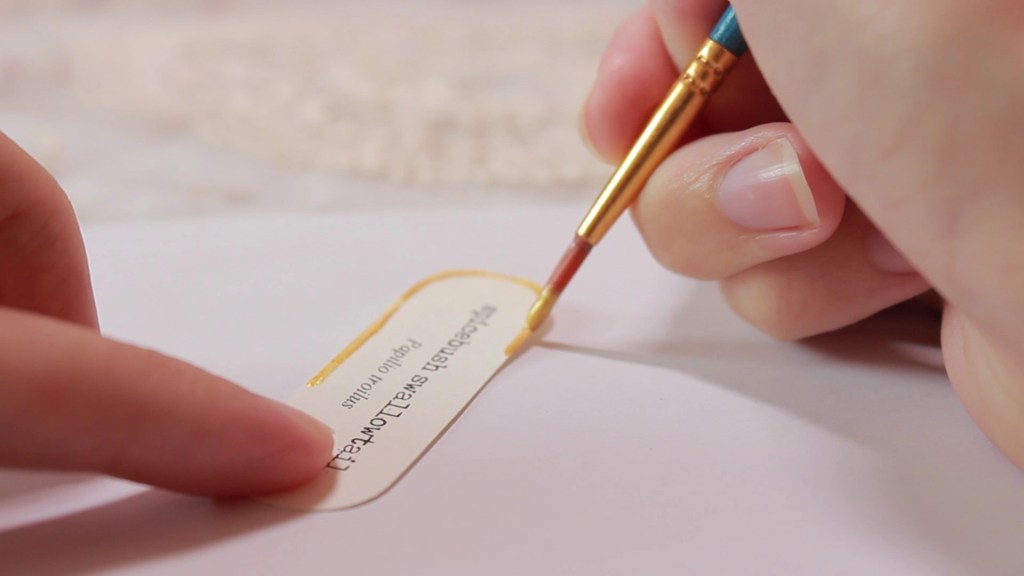
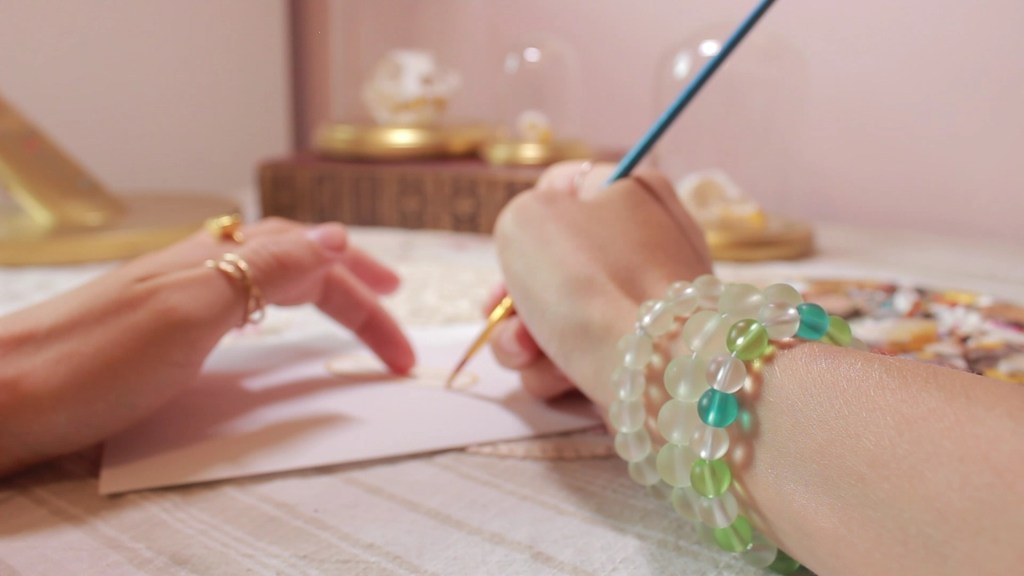
Because 1. I have too many bugs, 2. some bugs were too small for these nametags and it would’ve ended up looking silly, and 3. it was simply too much work for all the bugs I’ve since collected and pinned.
I would love to remember all their names though, so it’s been suggested that I make a numbered list of them on the back.
displaying my butterflies
I bought this shadowbox off Amazon, and although it’s really nothing special, I really love how it comes with a nice linen and foam backing already inside of it, so you can pin straight into it. It’s also real glass, opens in the front with a magnetic closure, and has a hanger on the back of it.
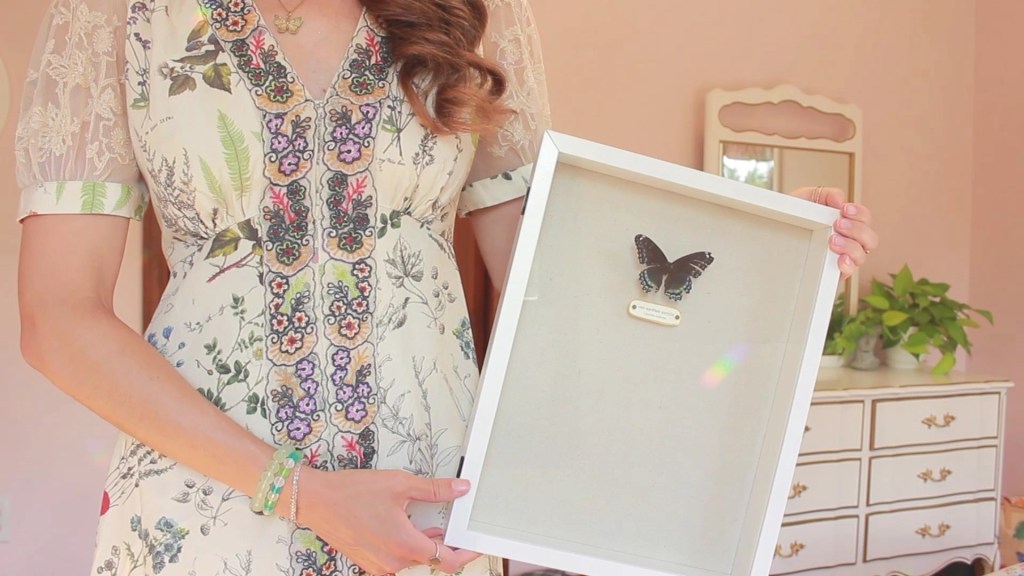
Although it looks simple in these photos, by the time I’m posting this tutorial, the shadowbox is already almost completely filled with insects. I already bought a second box so that I can continue my collection (I’m glad I did, because the white shadowbox seems to be currently unavailable).
All in all, I’m so happy that I’ve adopted this new hobby. It’s been so much fun, and I’ve loved getting to enjoy (and identify) all of these beautiful lil bugs after their deaths ✨
If you love nature, or bugs, or are just wanting for a new weird interest to obsess over, I’d highly recommend experimenting with the pinning process.
And if you’d like a more visual approach to this tutorial, please check out my YouTube videos I put together! I poured my heart and soul (aka hours of my time) into creating aesthetically pleasing tutorials that can live on the internet forever 🦋
And pro tip: always bring a collection container with you while you’re out on a hike!